Enhancing Your React Native App: A Guide to Custom Fonts
How to use custom fonts in your React Native app

I'm a developer, who is keen about building solutions in the web. I love to read and write articles.
Introduction 👋🏿👋🏿👋🏿
Welcome to this interesting series on "Enhancing Your React Native App." 🎉🎉. In the last article, we saw what was needed for a developer interested in building mobile apps using React Native. We also saw that React Native could be used to build cross-platform applications. As we continue to build interesting mobile apps, we seek ways to elevate our creations' visual appeal and user experience.
Why use custom fonts in apps? 🤷🏿🤷🏿🤷🏿
In building mobile apps, understanding how to implement custom fonts in our apps can greatly enhance the aesthetics and branding of our apps. Using custom fonts in our apps infuses personality, professionalism, and style into our interfaces, elevating them to exceptional.
In this article, we will learn how to use custom fonts to make our app visually captivating and leave a lasting impression on the users.
Exploring resources for custom fonts 📒👨🏿💻
Here is a list of websites where you can find custom fonts for your personal or commercial projects:
Using custom fonts in our React Native app 🔡🔠
Getting started with React Native Guide will help us set up your machine for React Native.
After setting up our machine for React Native, the following steps will help us achieve our objective:
PS: The device you are using matters when developing React Native applications. For this article, I am using an Apple Mac device.
Uninstall any previously installed global
react-native-clipackagenpm uninstall -g react-native-cli @react-native-community/cliRun the command to create a new React Native project
npx react-native init RNFonts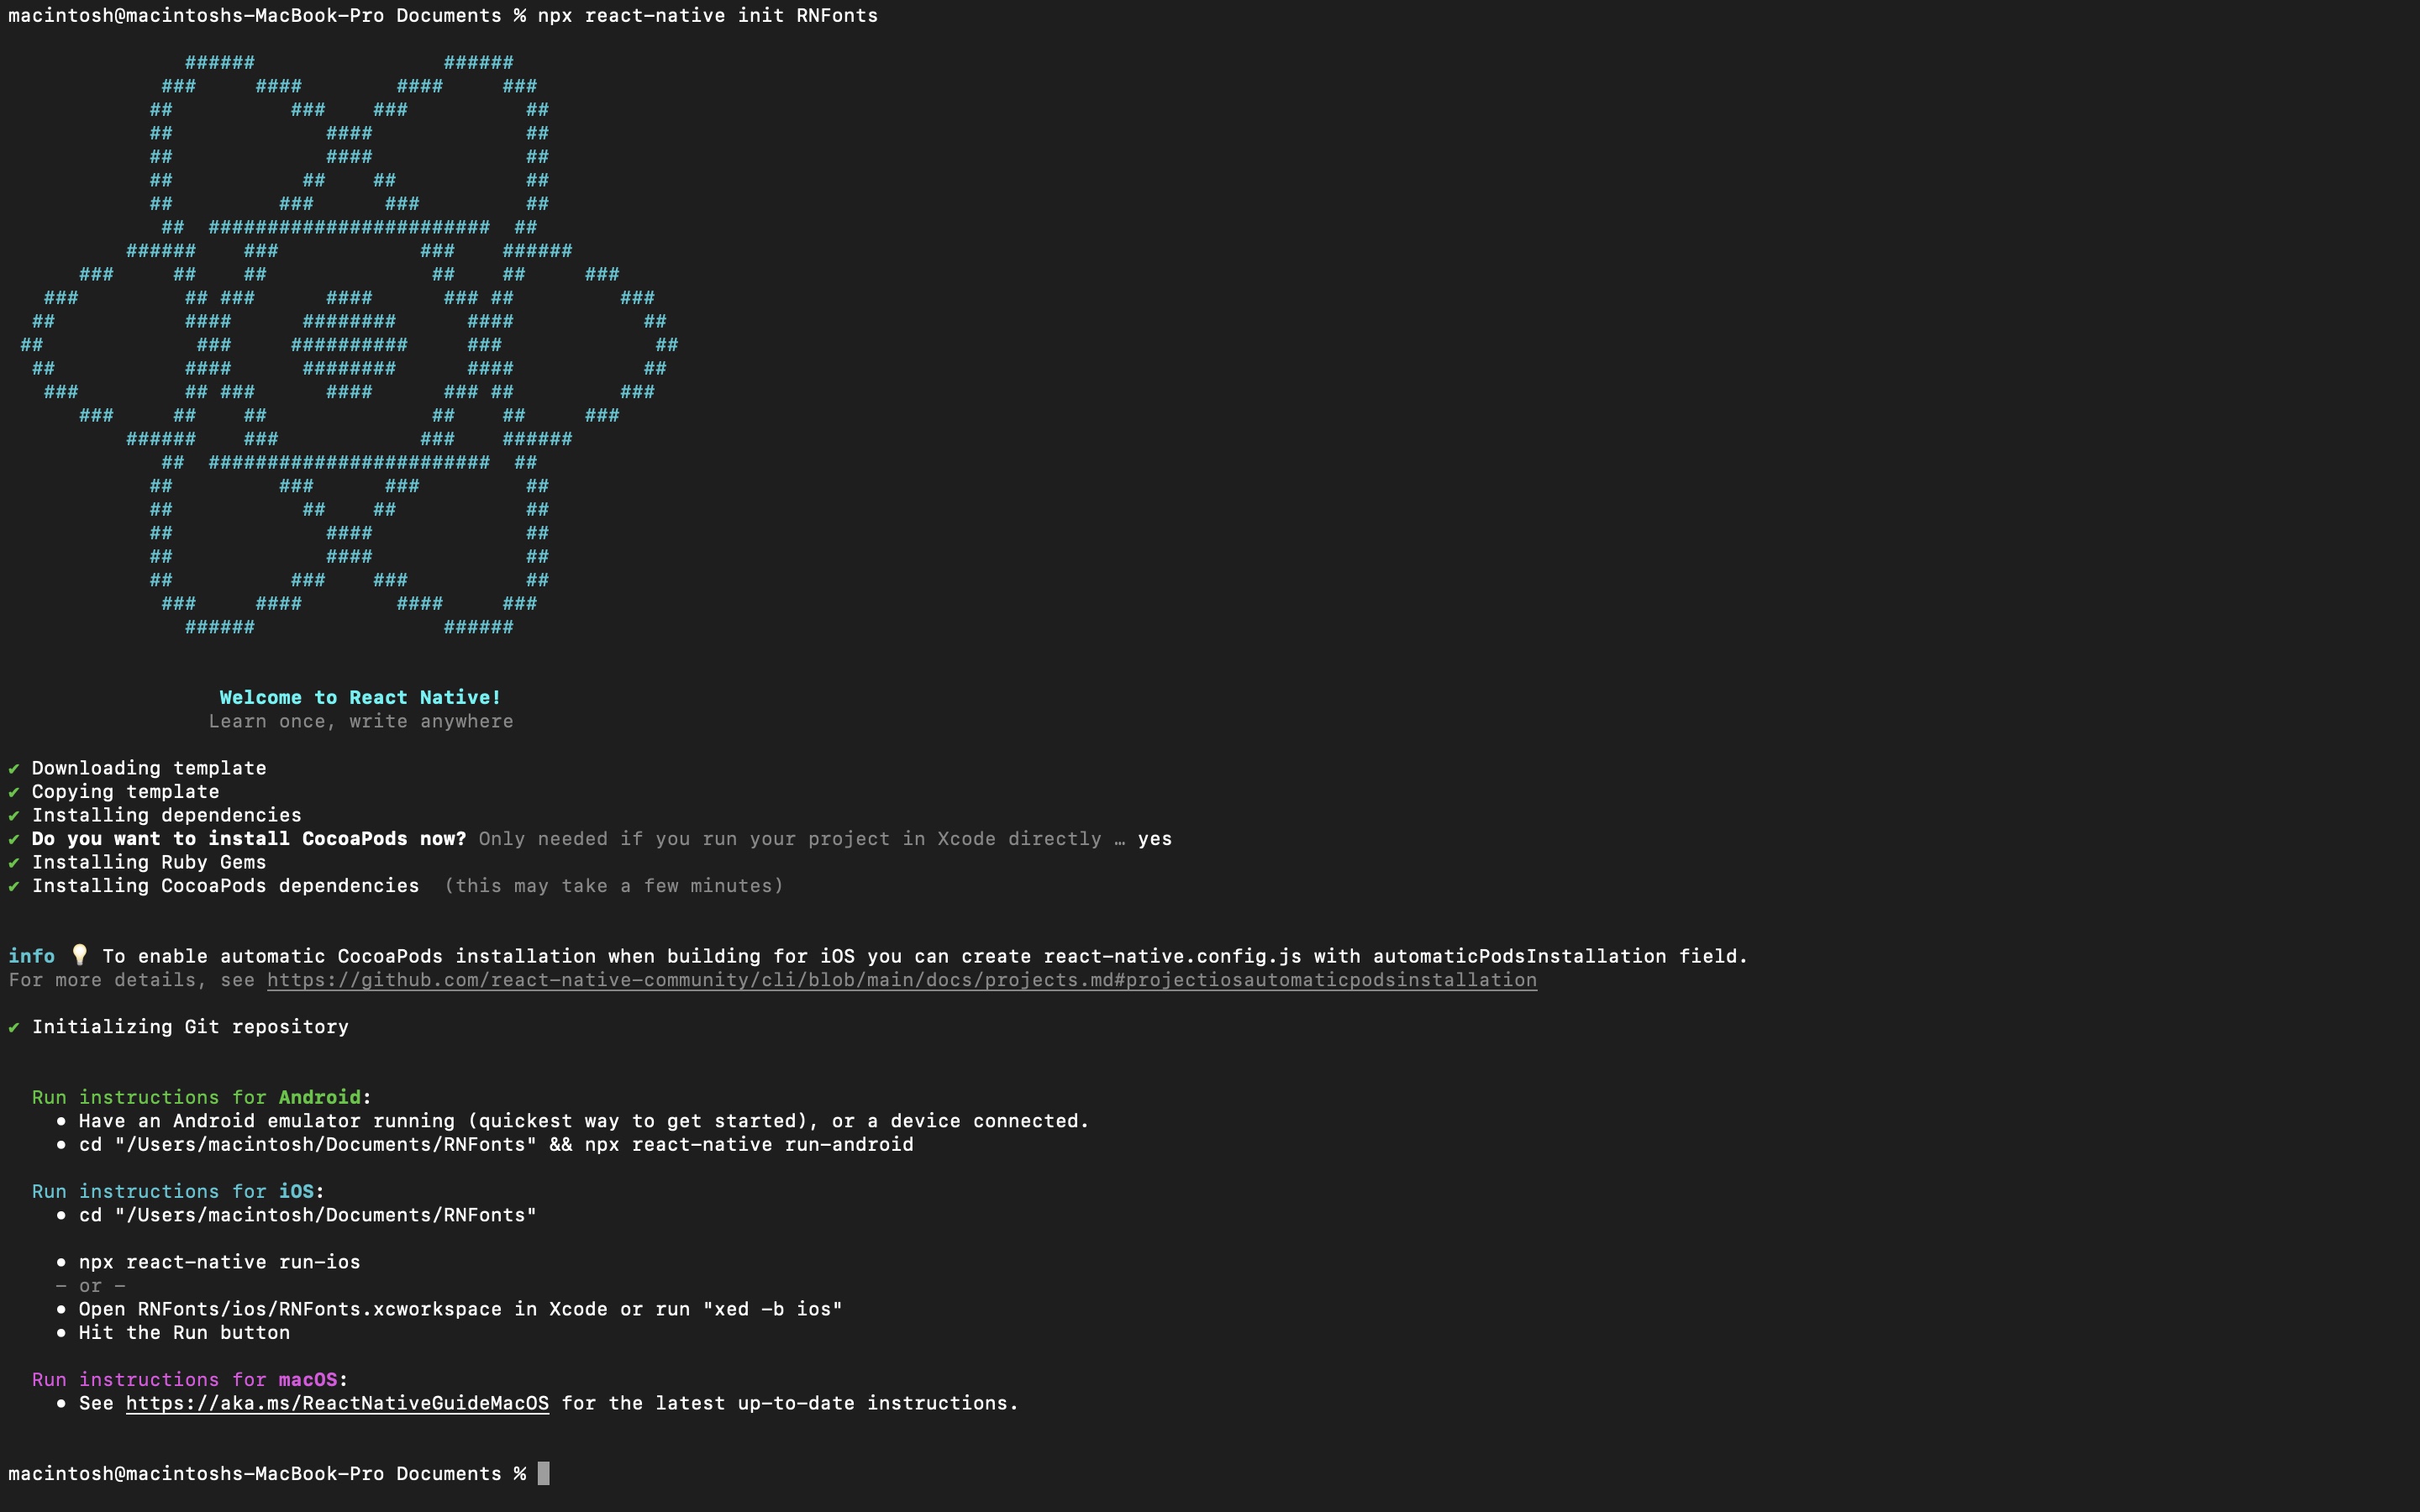
Navigate into the app directory:
cd RNFontsDownload the fonts we need. For this example project, we will be using selected fonts from some of the resources above:
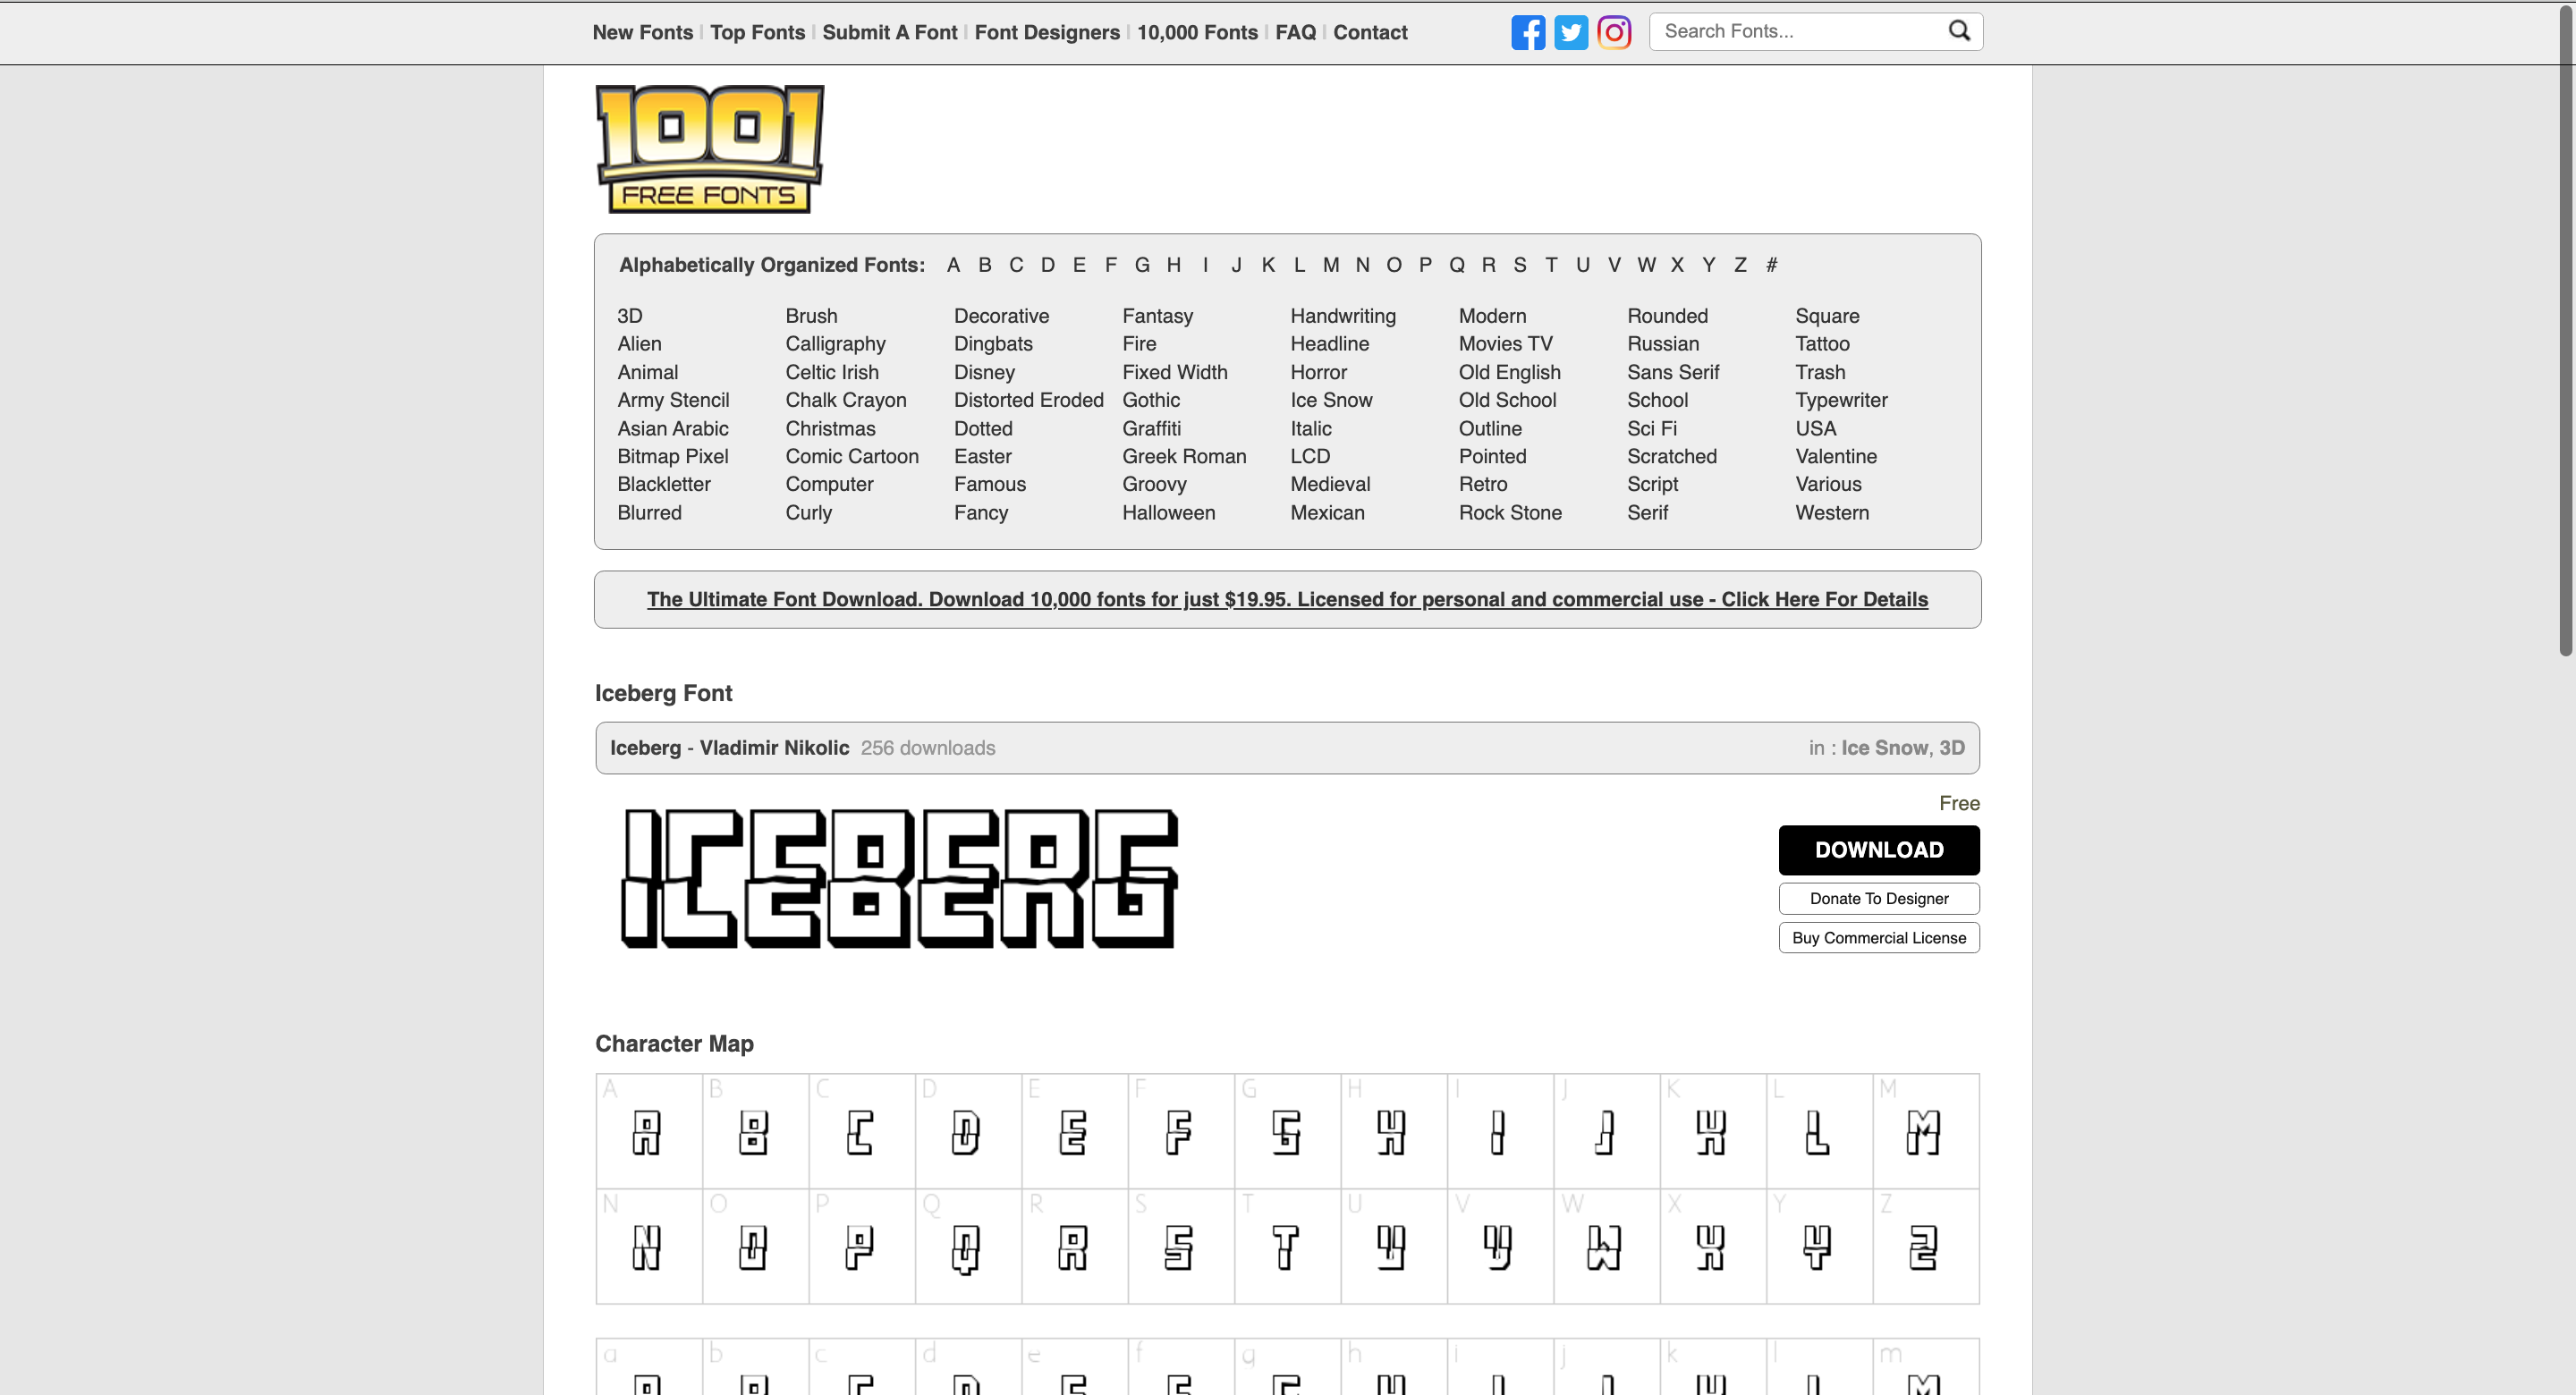
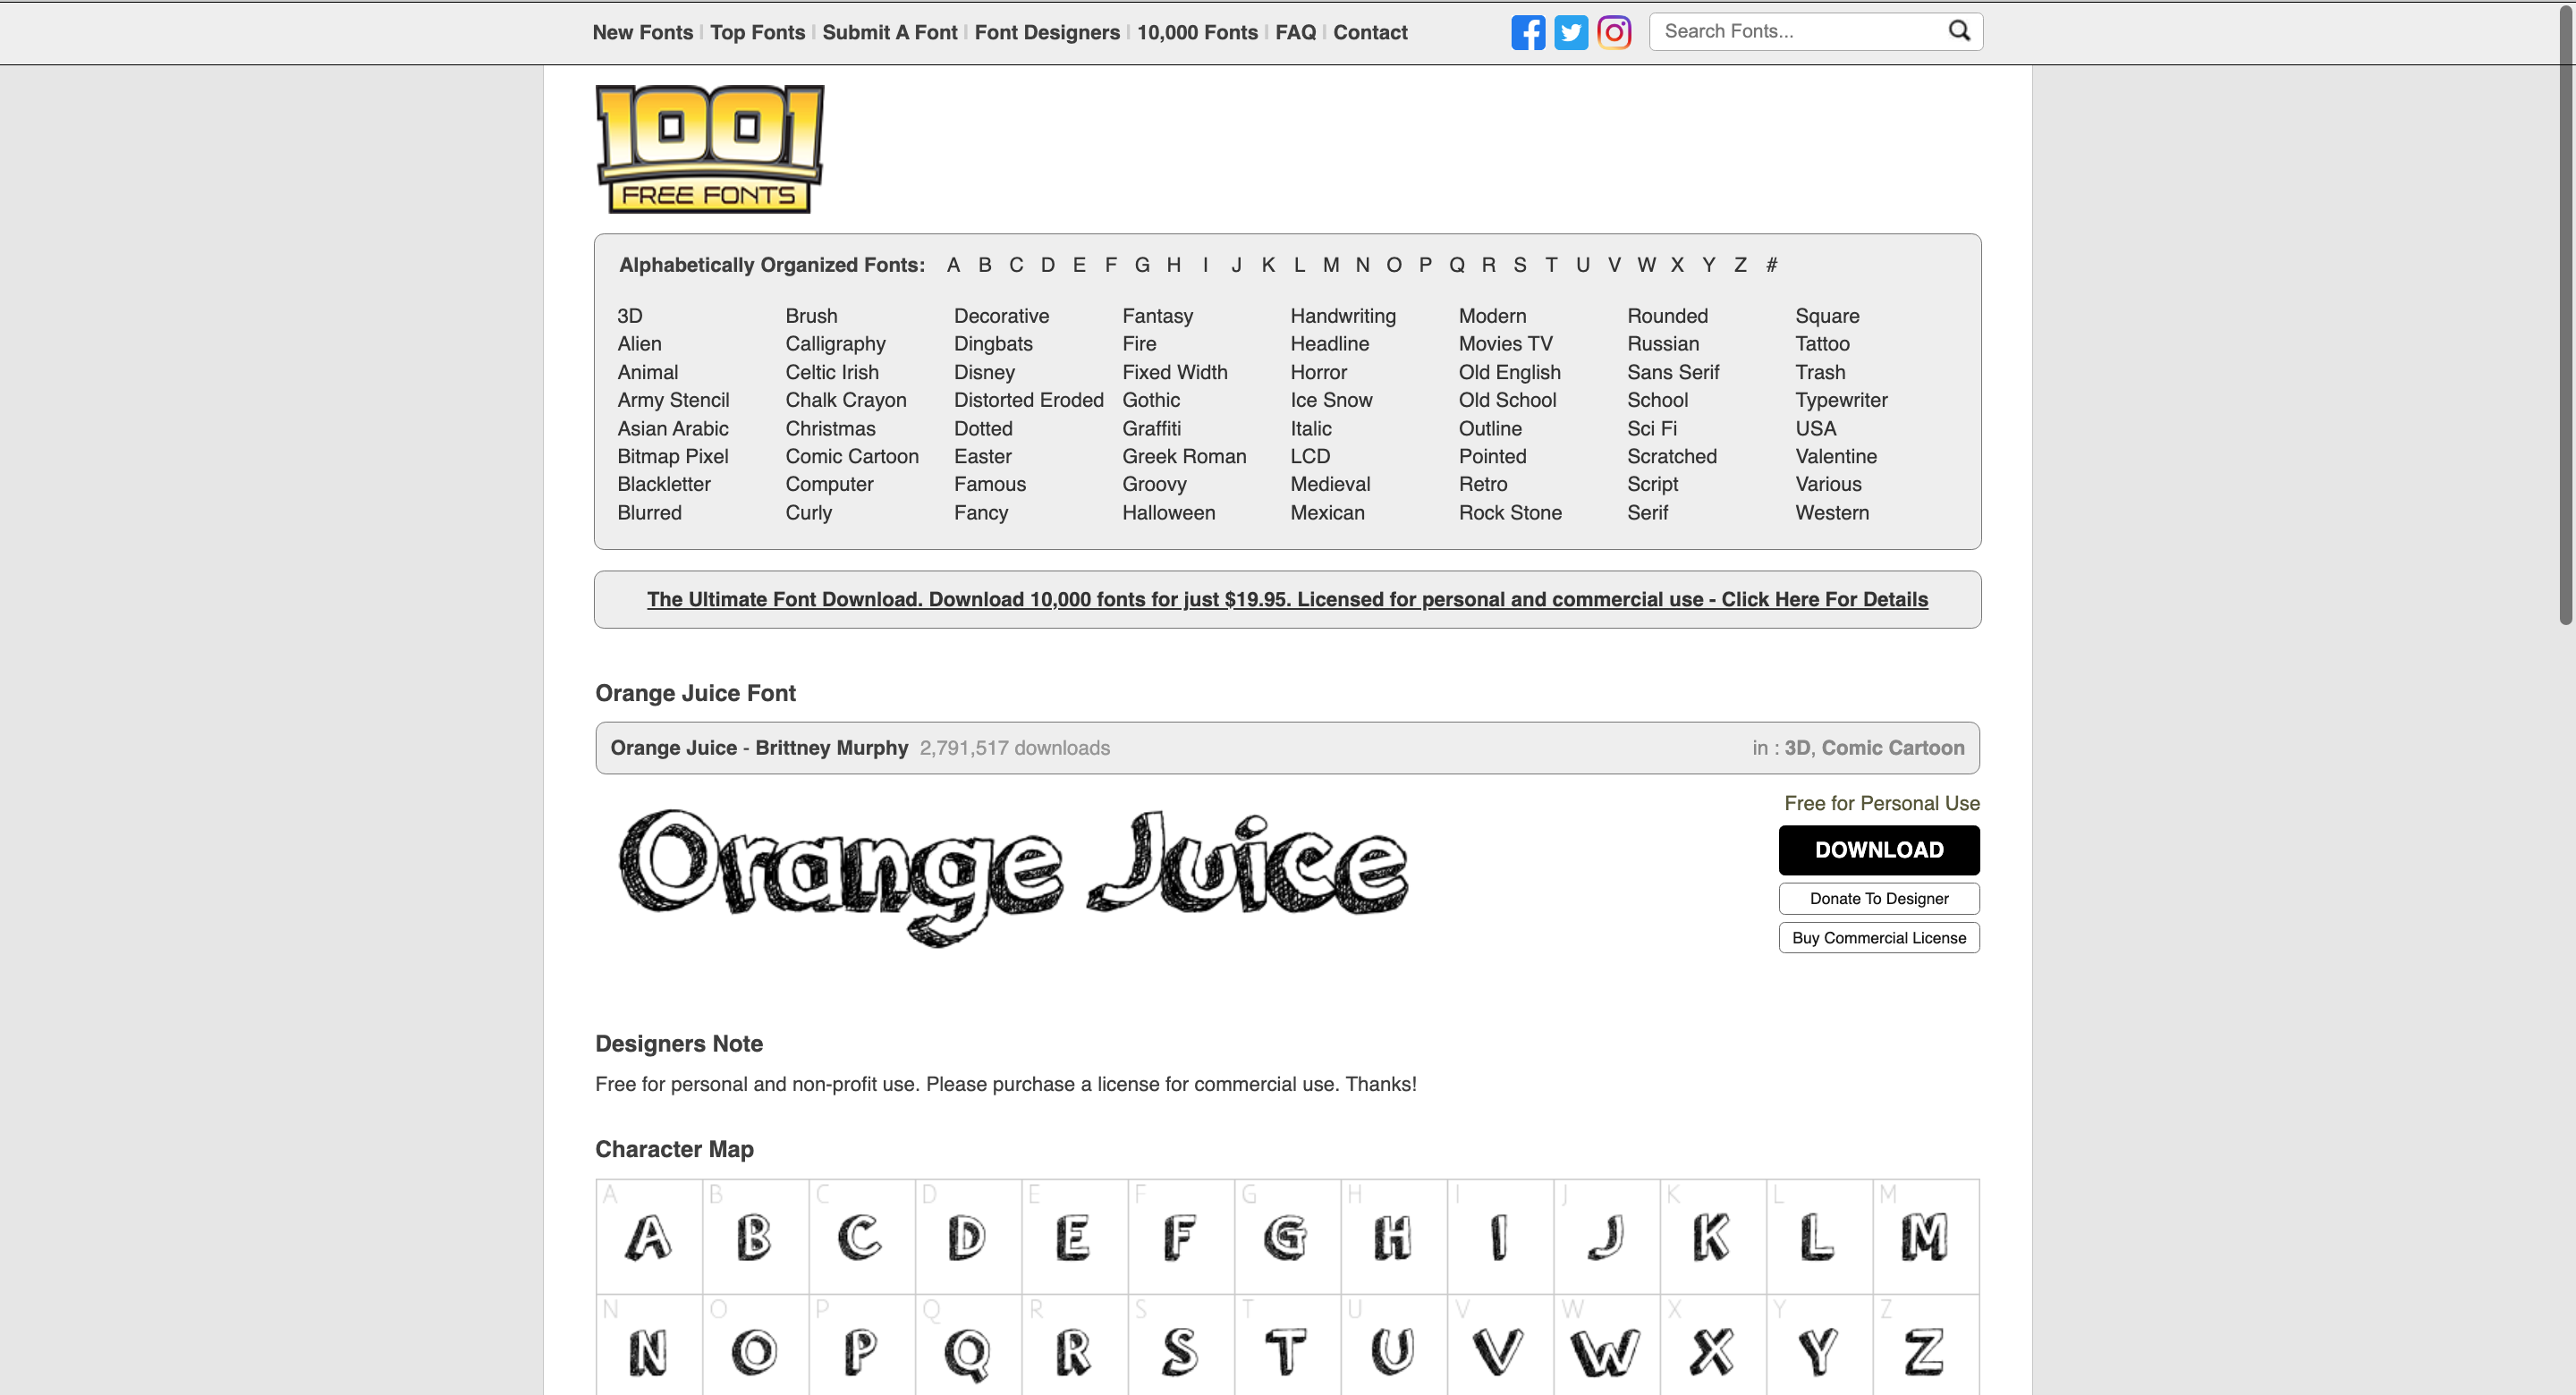
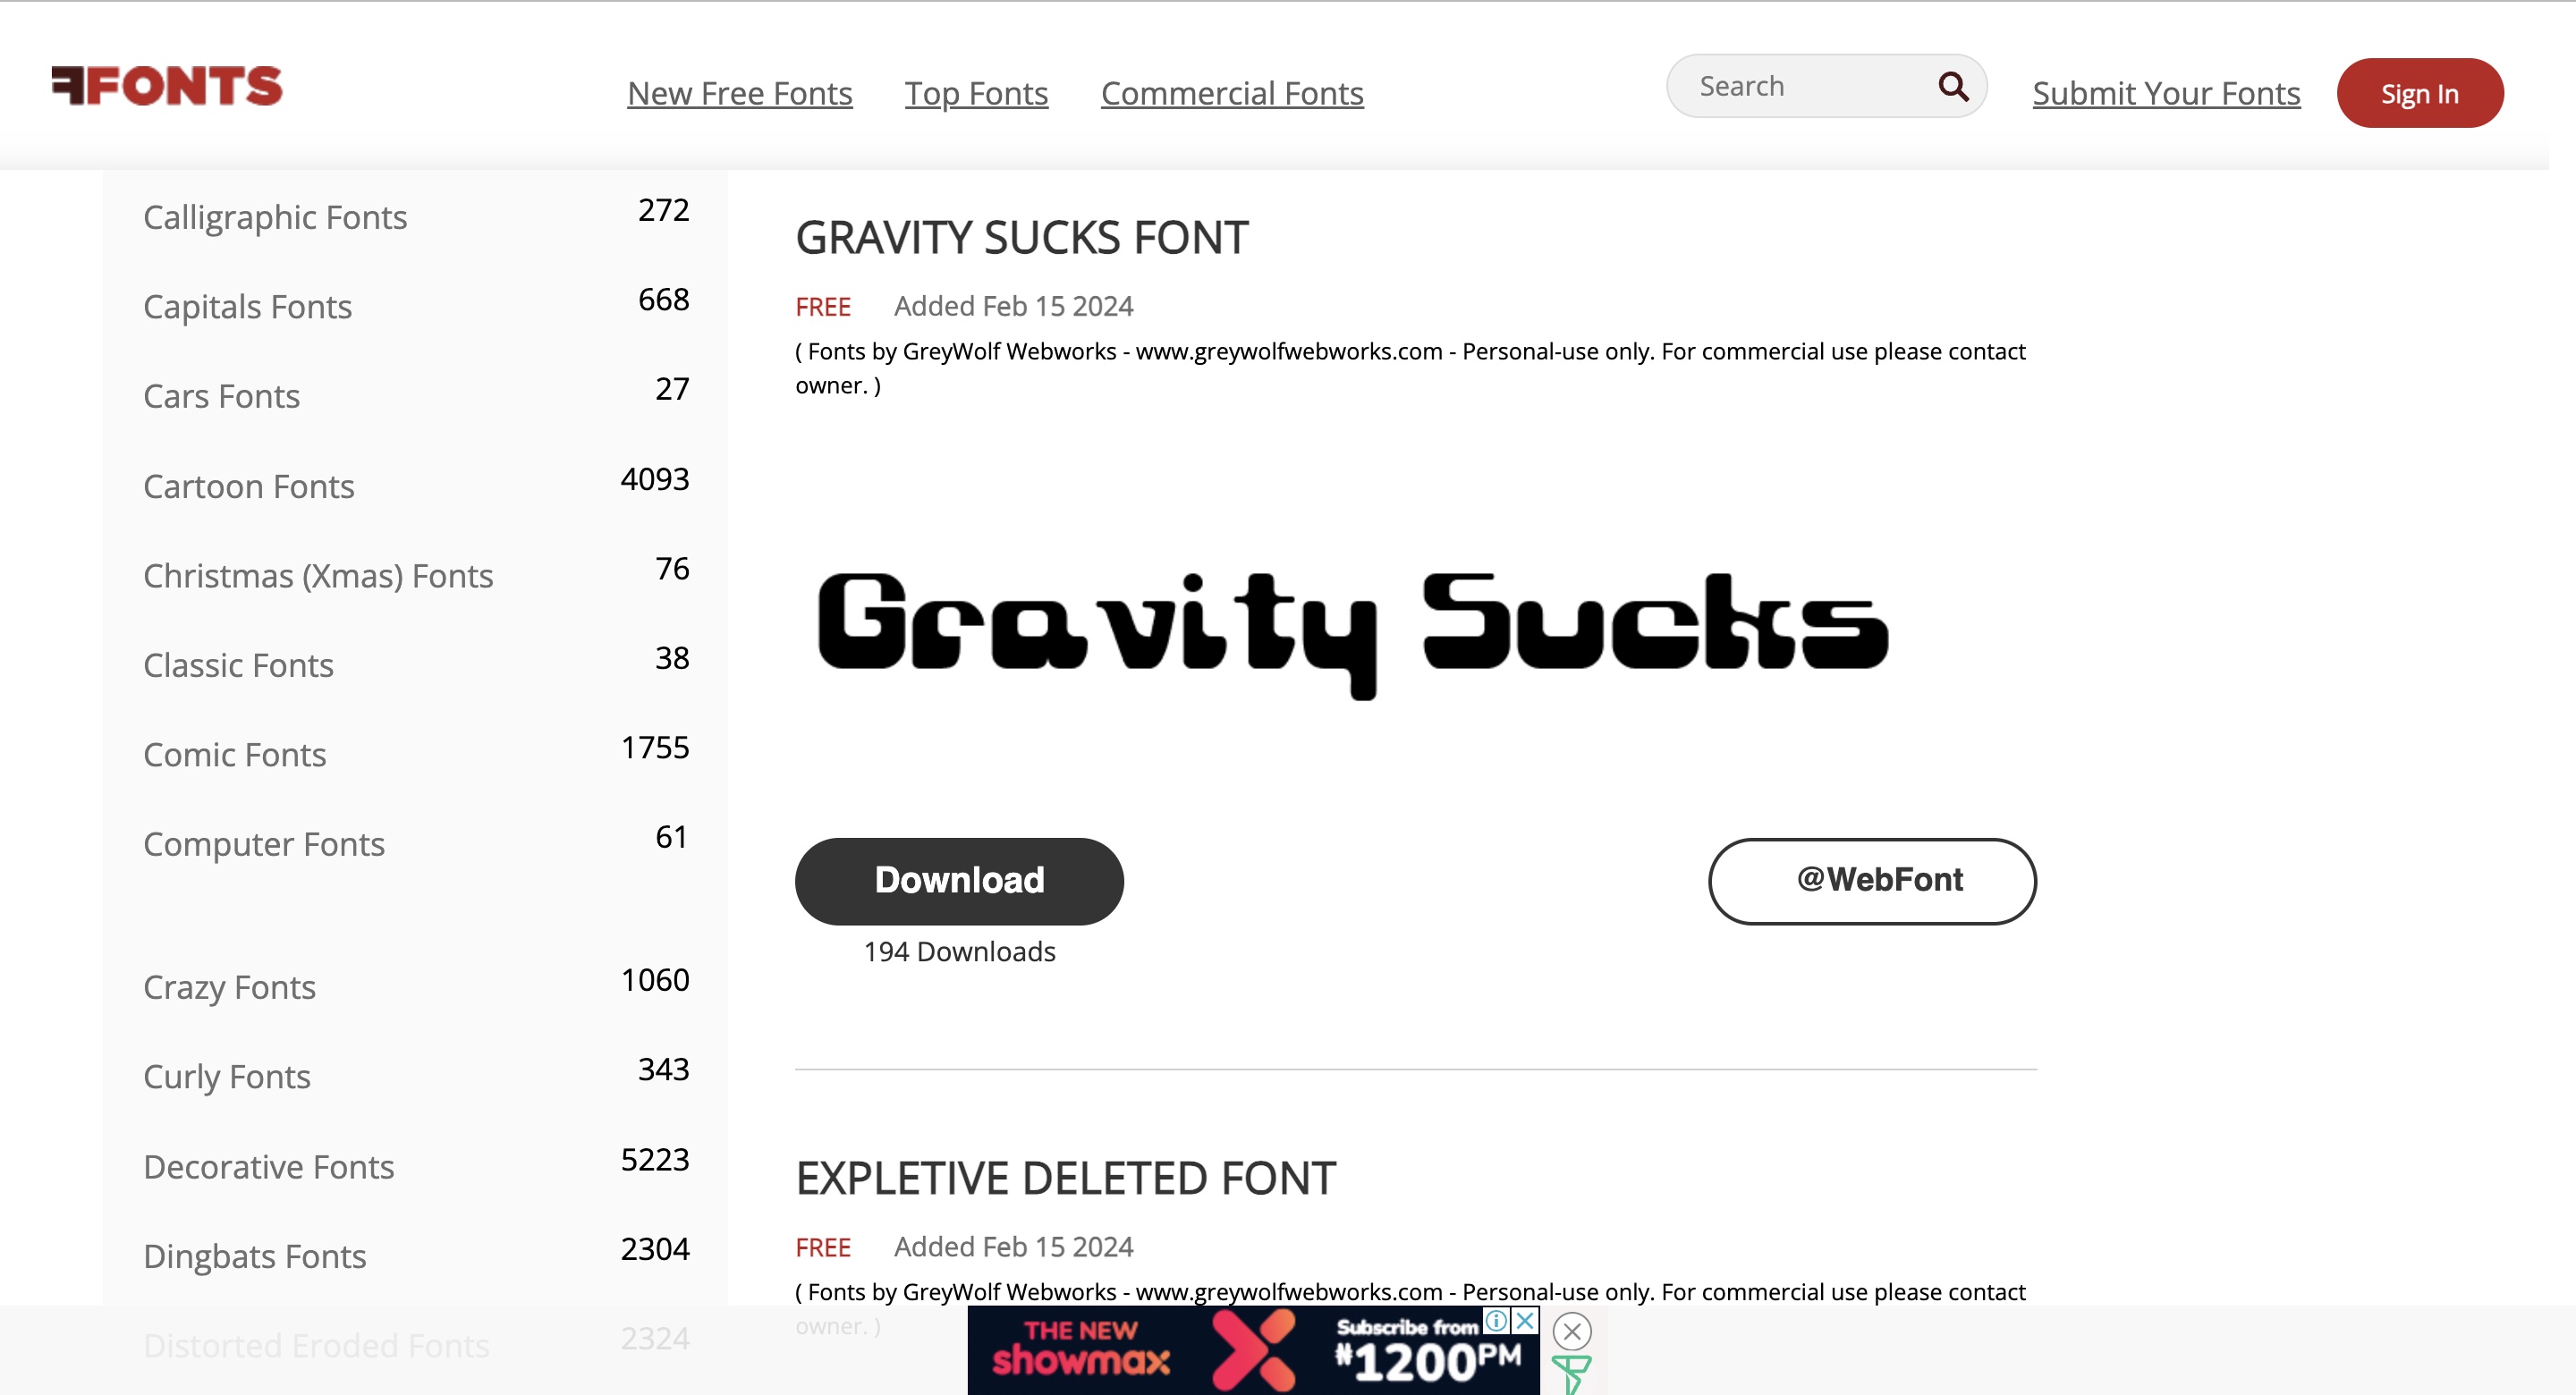
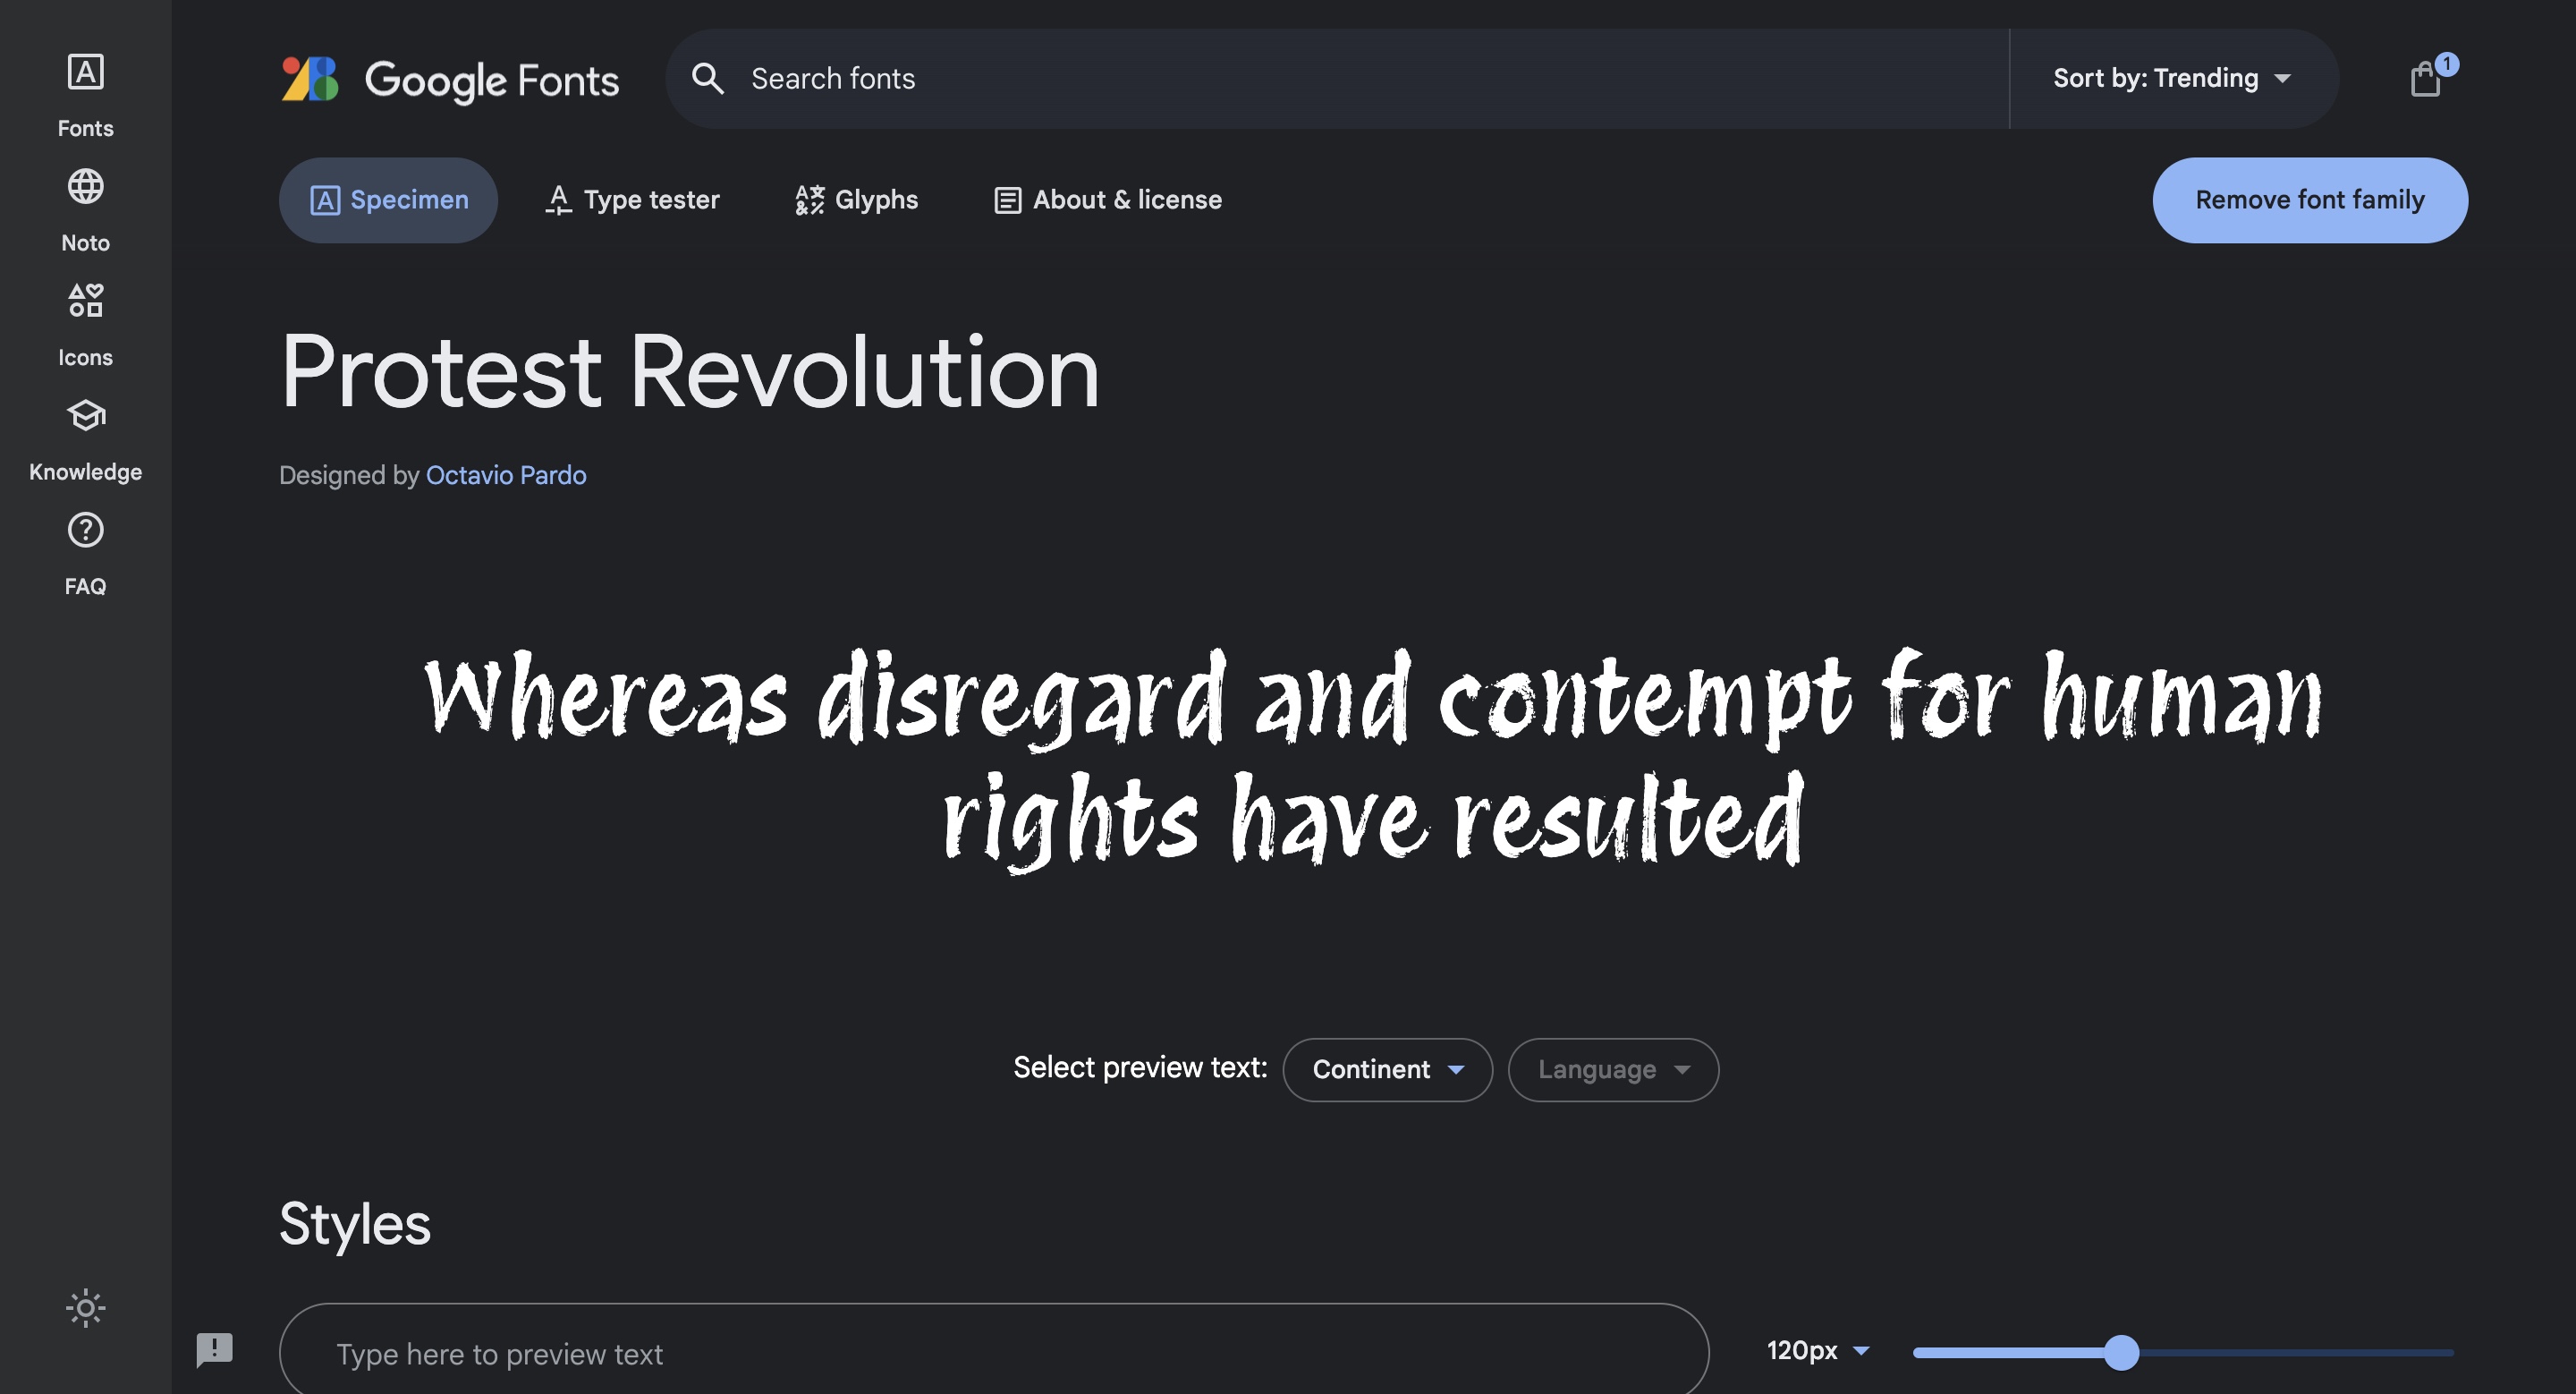
Protest Revolution - Google fontsPS: Ensure that the downloaded fonts are in the
.ttfformat.
Importing custom fonts in Android
To use the custom fonts on an Android device,
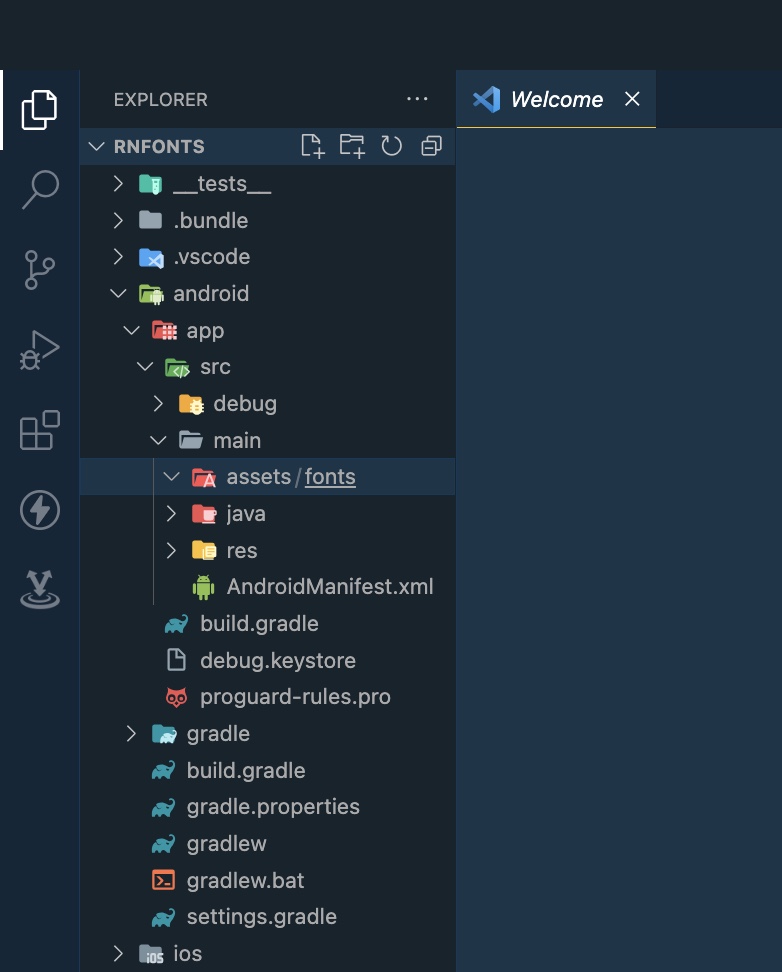
Navigate to the main directory:
cd ./android/app/src/mainCreate a directory called
assets/fontsmkdir assets/fontsYou should have something like this:
Move all the custom fonts to the
assets/fontsfolderEnsure that you rename the files into a name of your choice, e.g. I renamed the
orange-juice 2.0intoorange-juice.It should look like this:
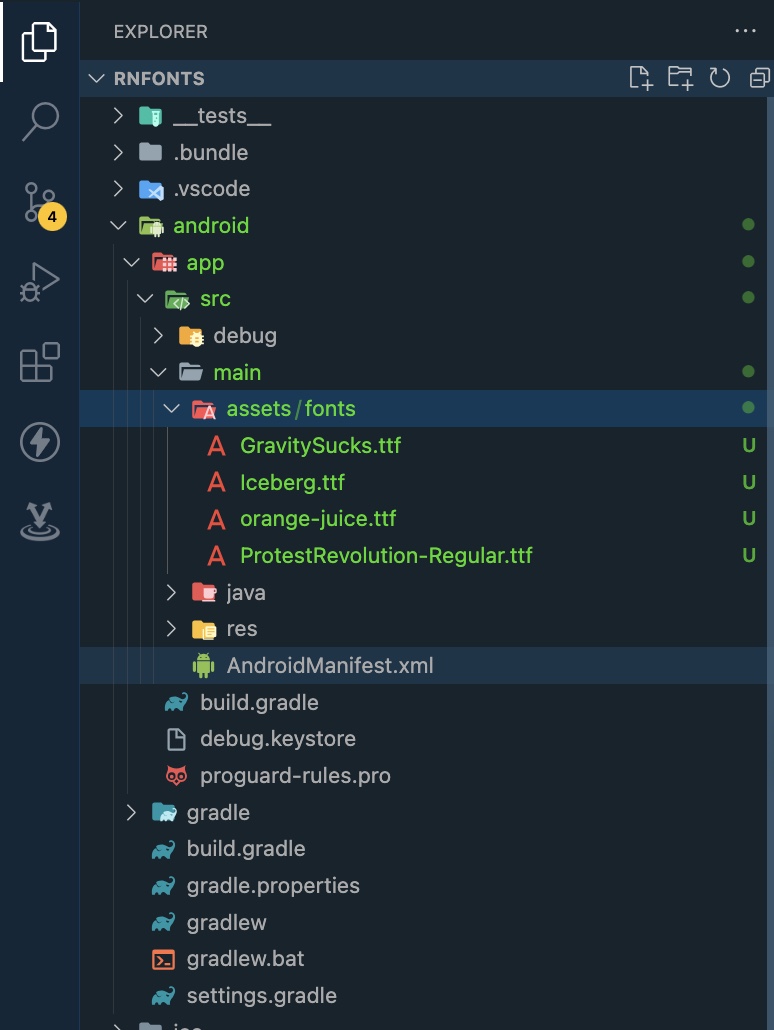
Our font is ready to use on your Android device.
Importing custom fonts in iOS
To use custom fonts in our iOS devices, we'll follow the steps below
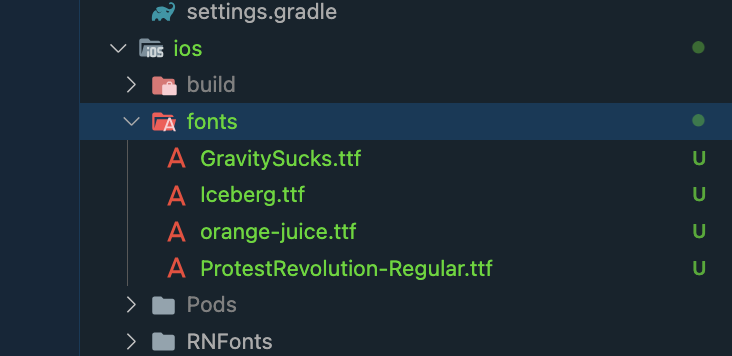
Navigate to the iOS directory/folder and create a directory/folder called
fontscd ios/ mkdir fontsLet's copy our downloaded fonts into the
fontsdirectory. Ensure they have the same name as we used in the case of Android.We should have this:
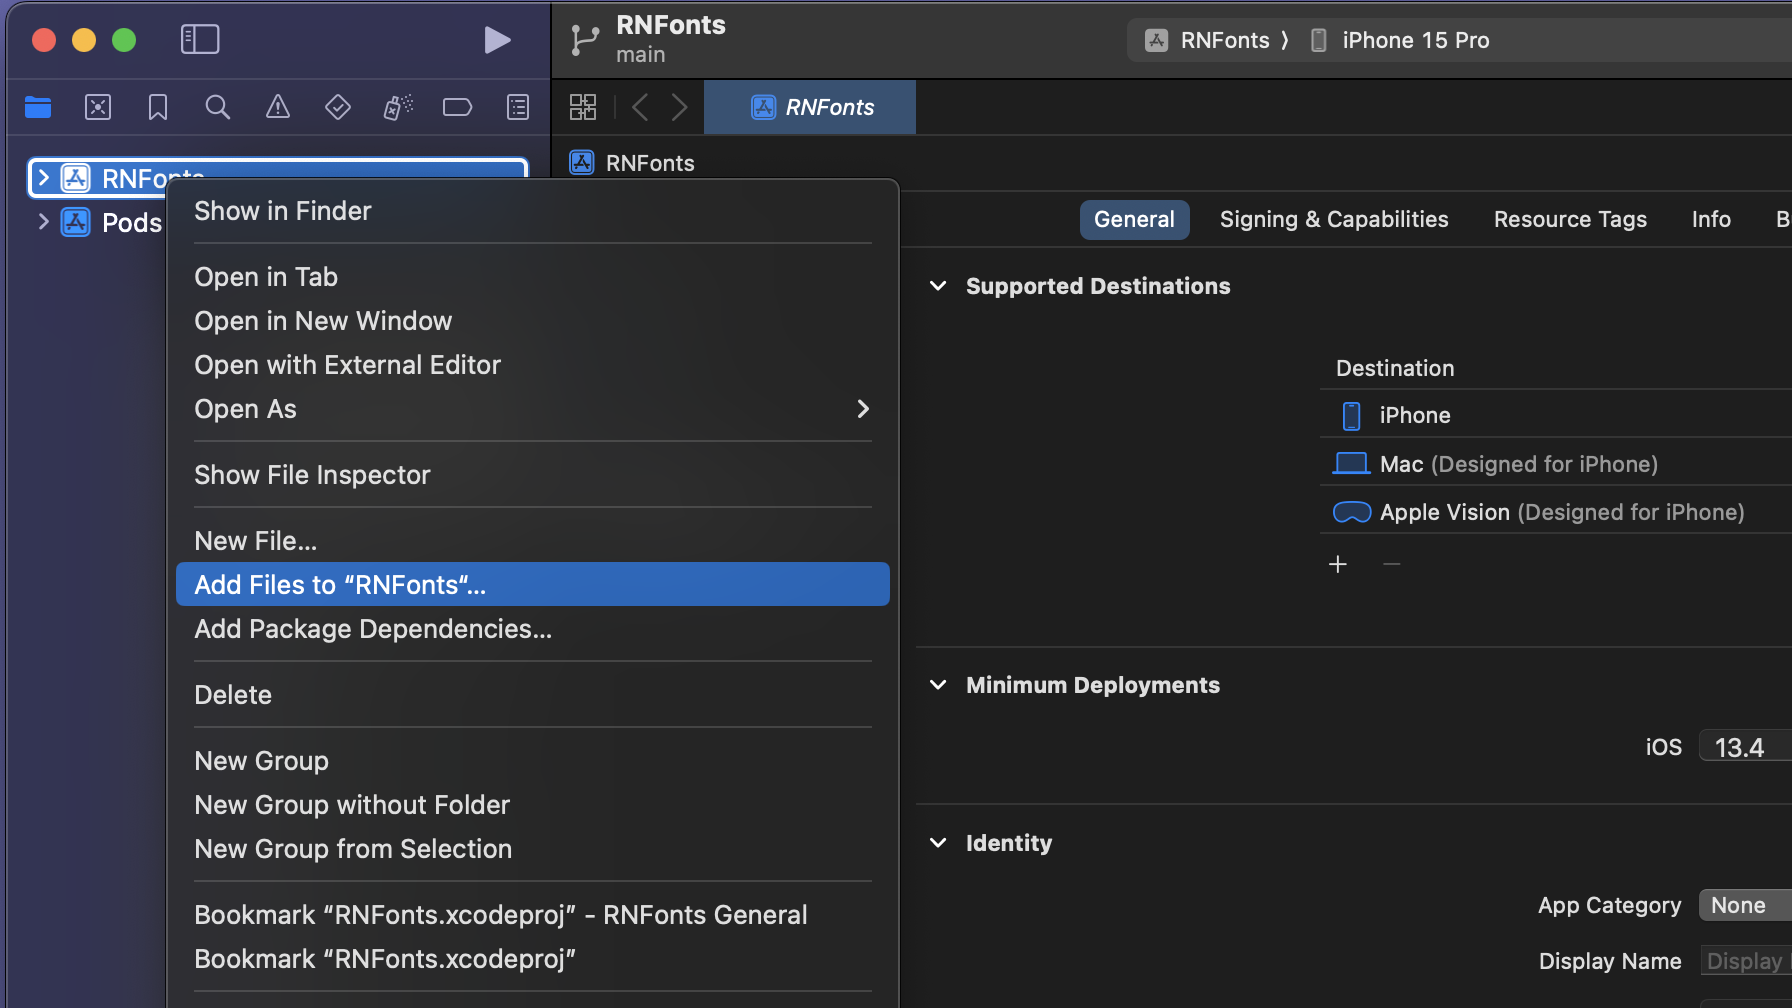
Next, we open the
RNFonts.xworkspacefile using Xcode.After opening this project on Xcode, on the left-hand side, we click on the project name and select the option "Add files to RNFonts".
We should have something like this:
Next, we select the
fontsdirectory that we have created. Remember to select Create Folder references from below and click Add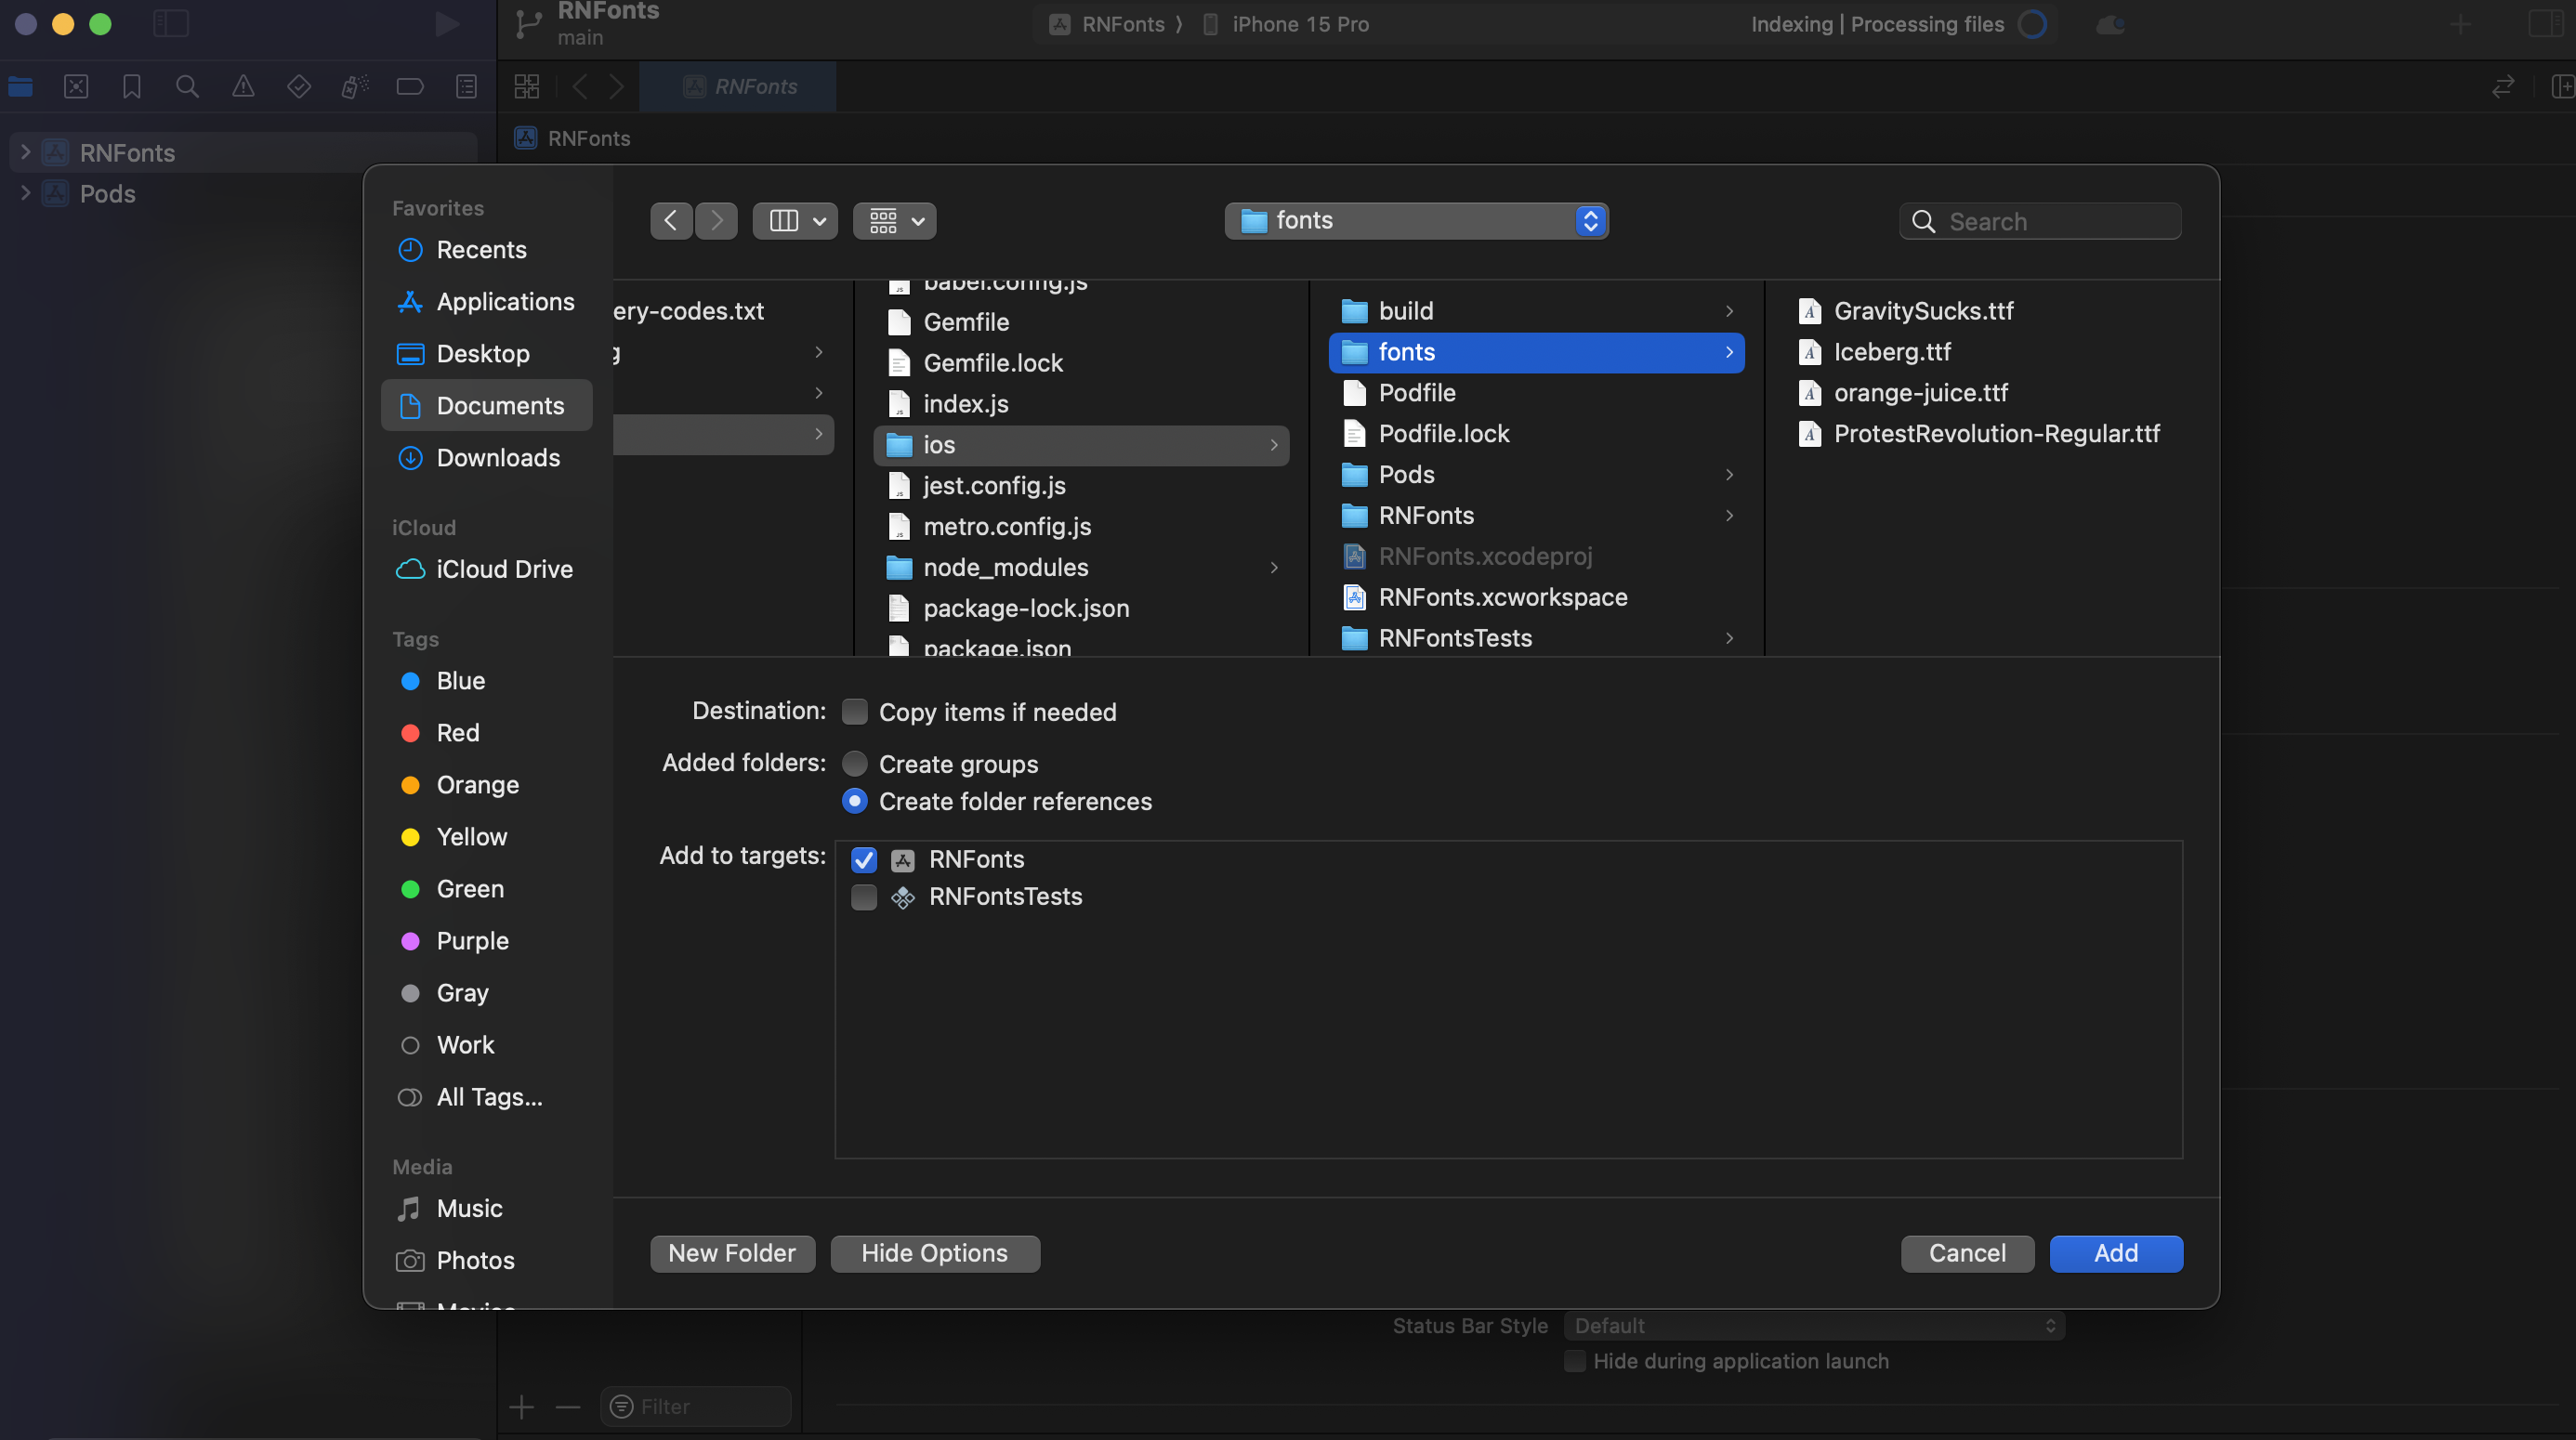
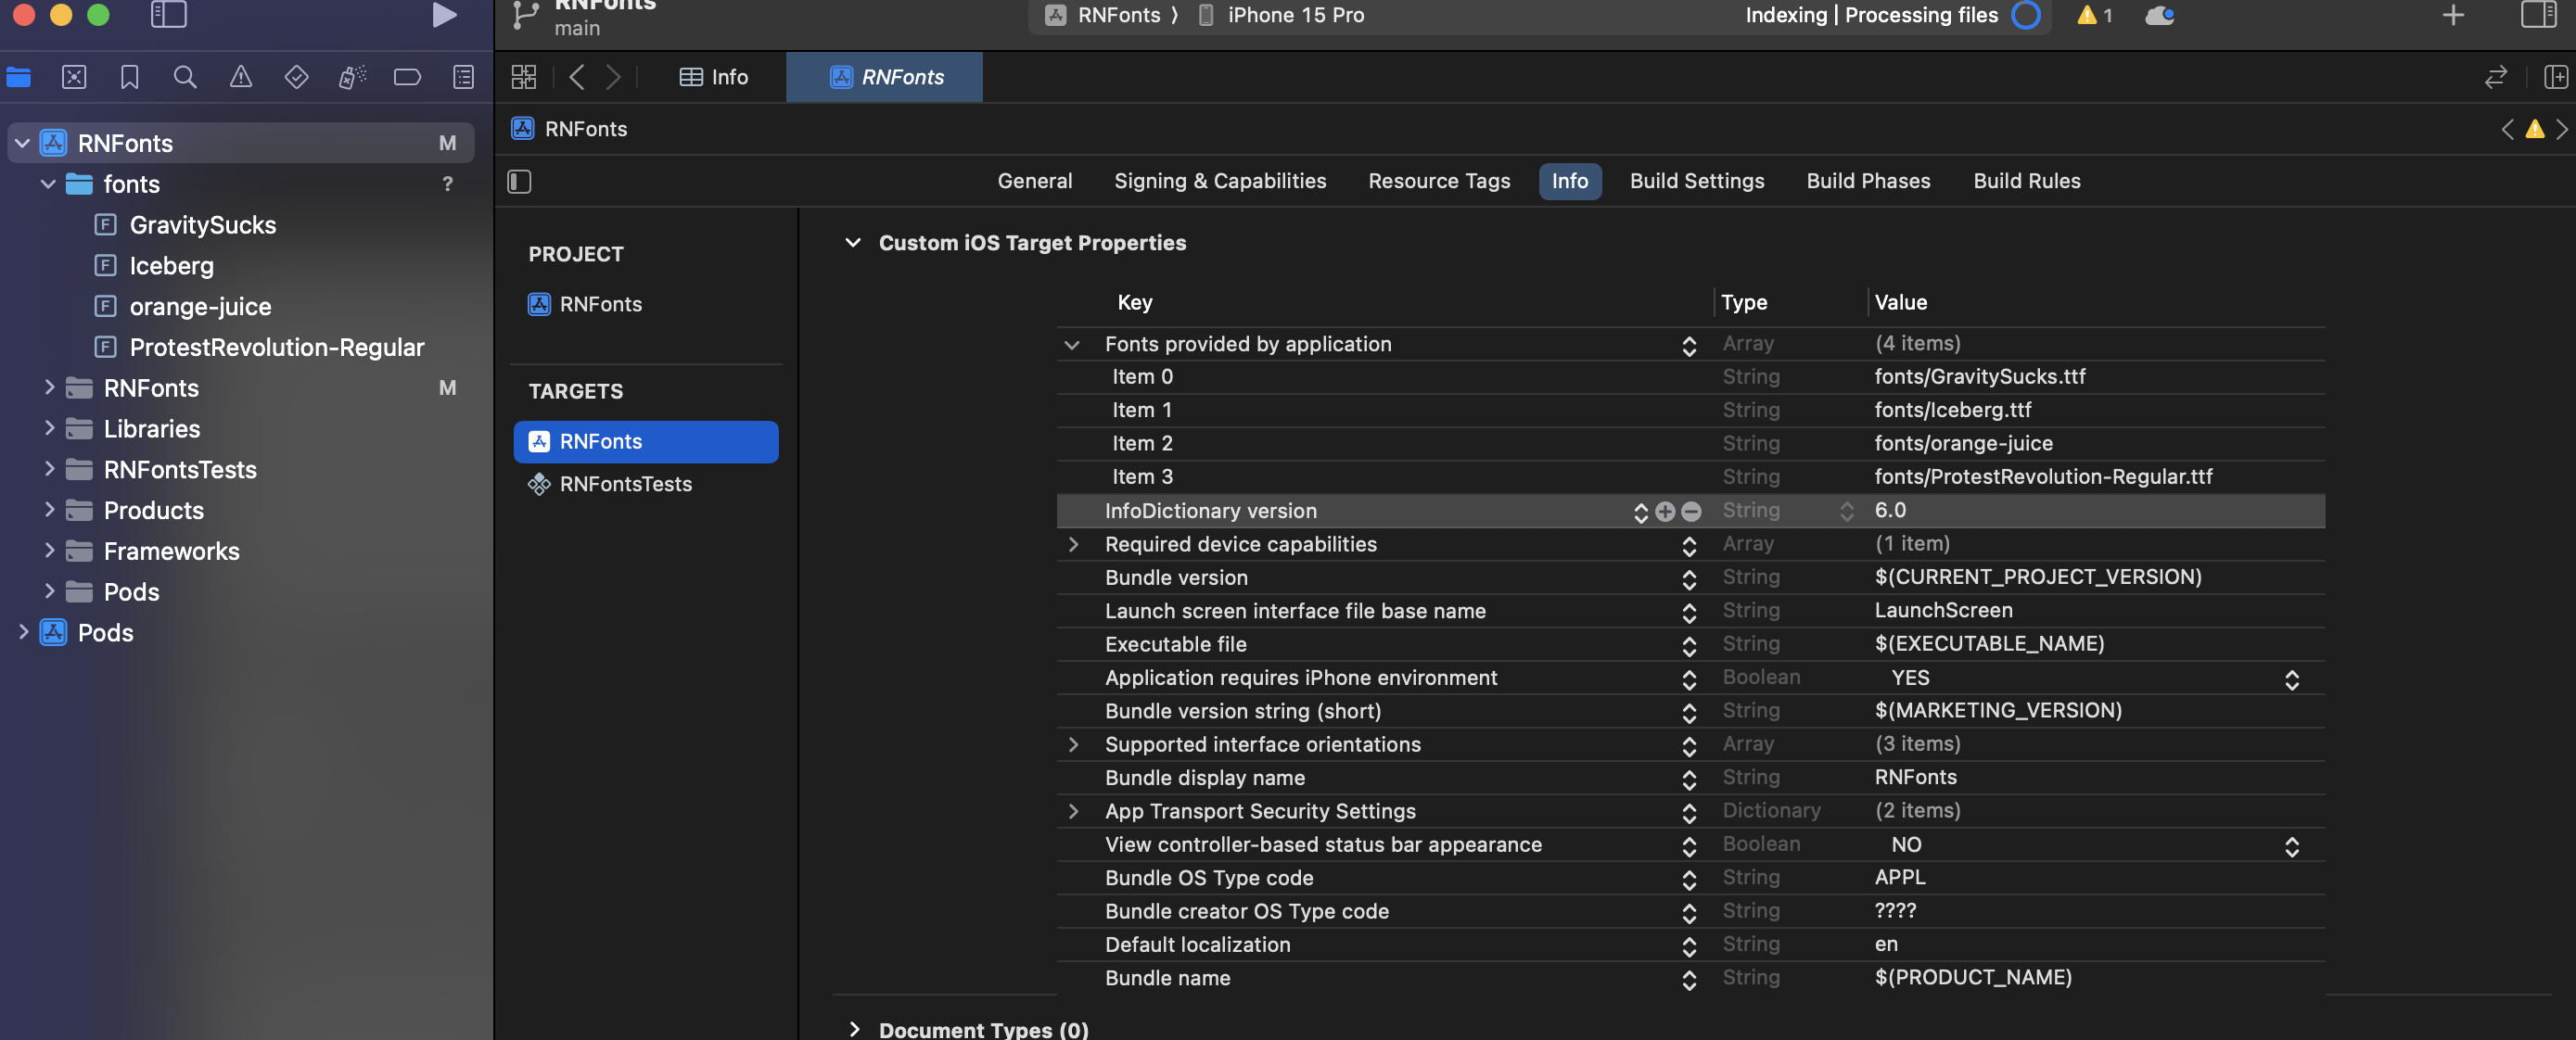
Next, we click the project name - RNFonts on the left top, and select the project name on TARGETS. Click the Info tab on the top menu to see
Info.plist. When you hover over the properties in theInfo.plistfile, we will see a "plus" button and add "Fonts provided by application" and font files to theInfo.plistfile.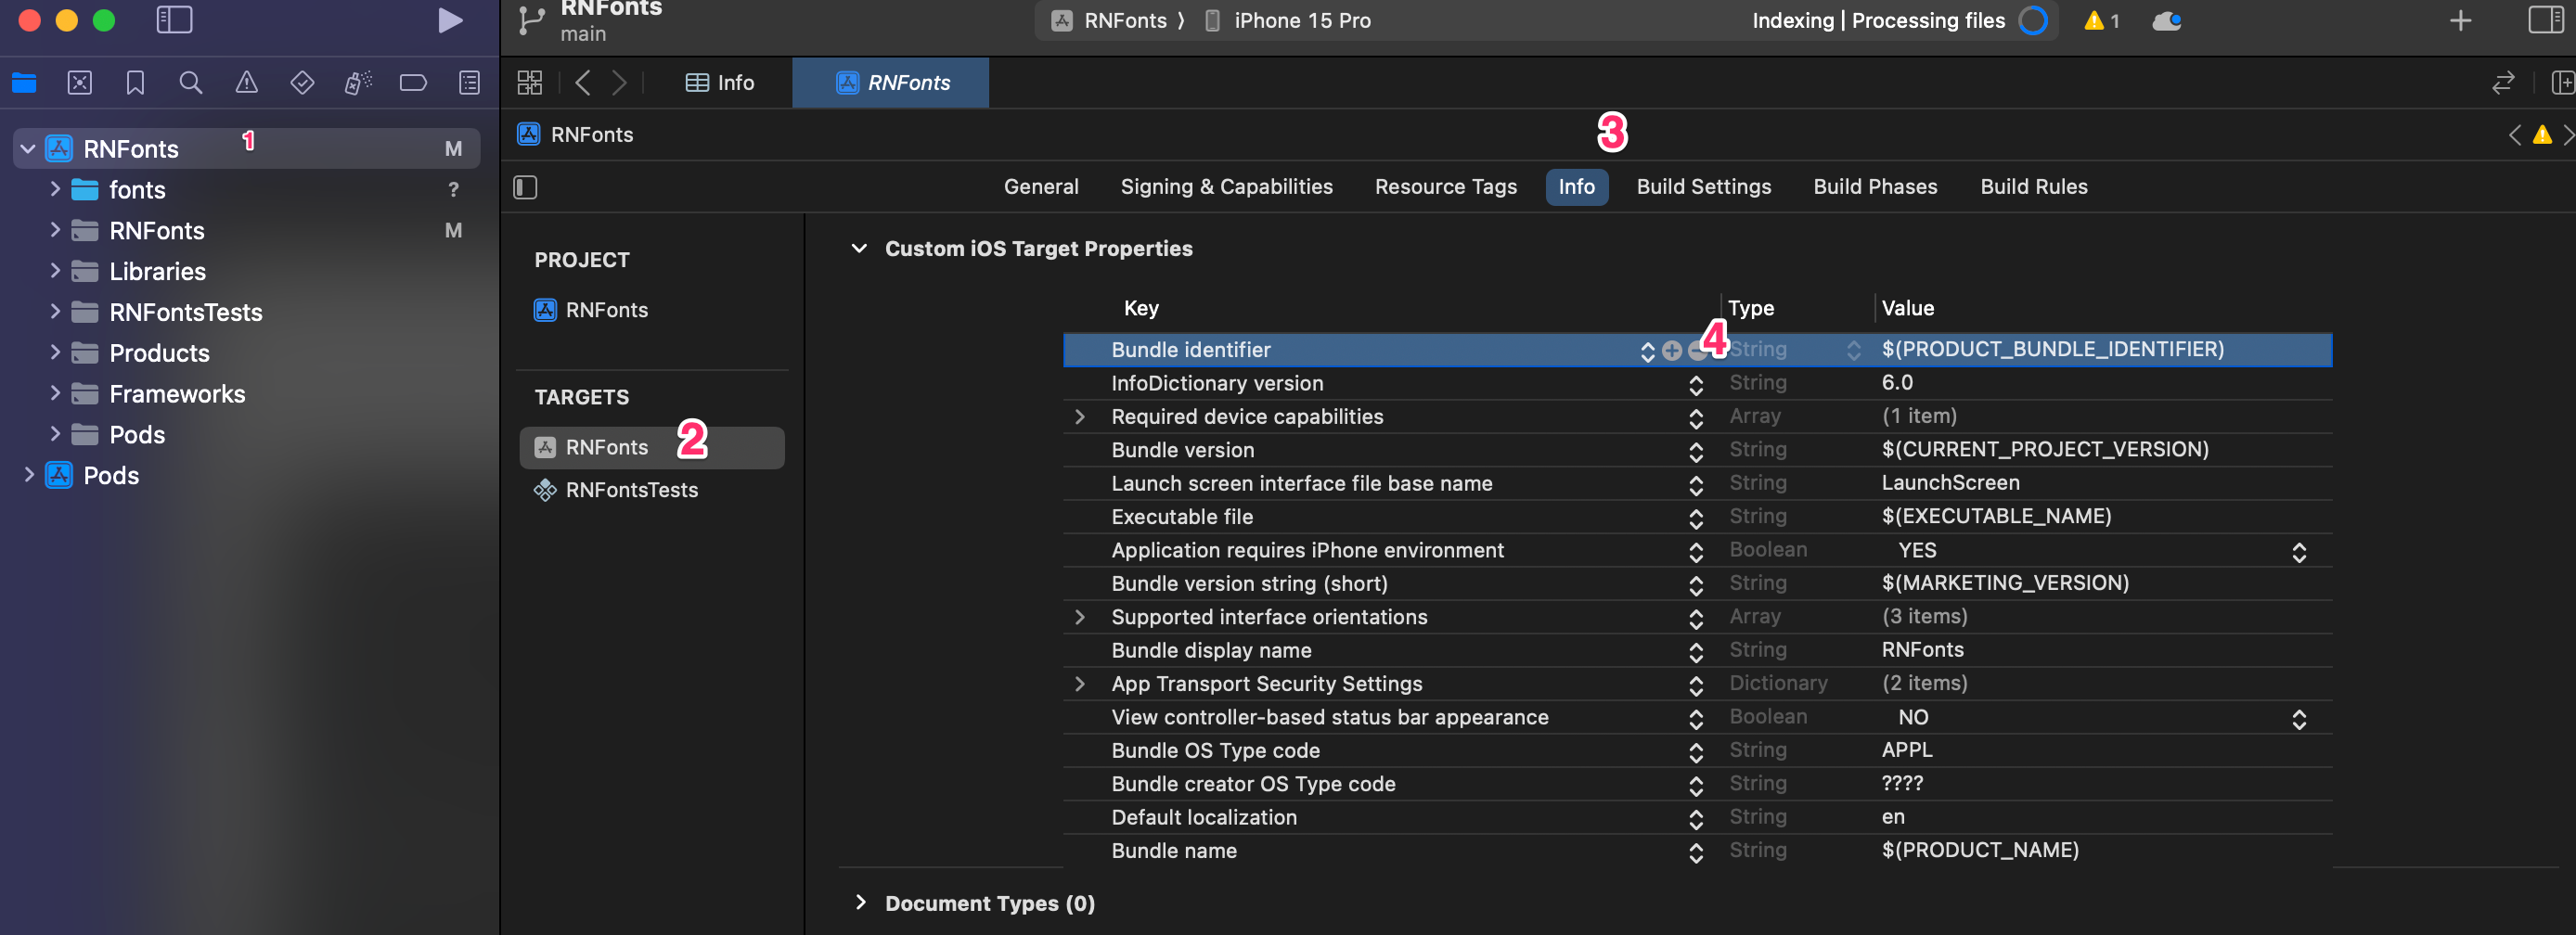
After adding it we should have this:
Or we can just navigate to the
Info.plistfile in the directoryios/RNFonts/Info.pliston our VSCode and add the font files directly into it.
Our fonts should be ready to use on an iOS device.
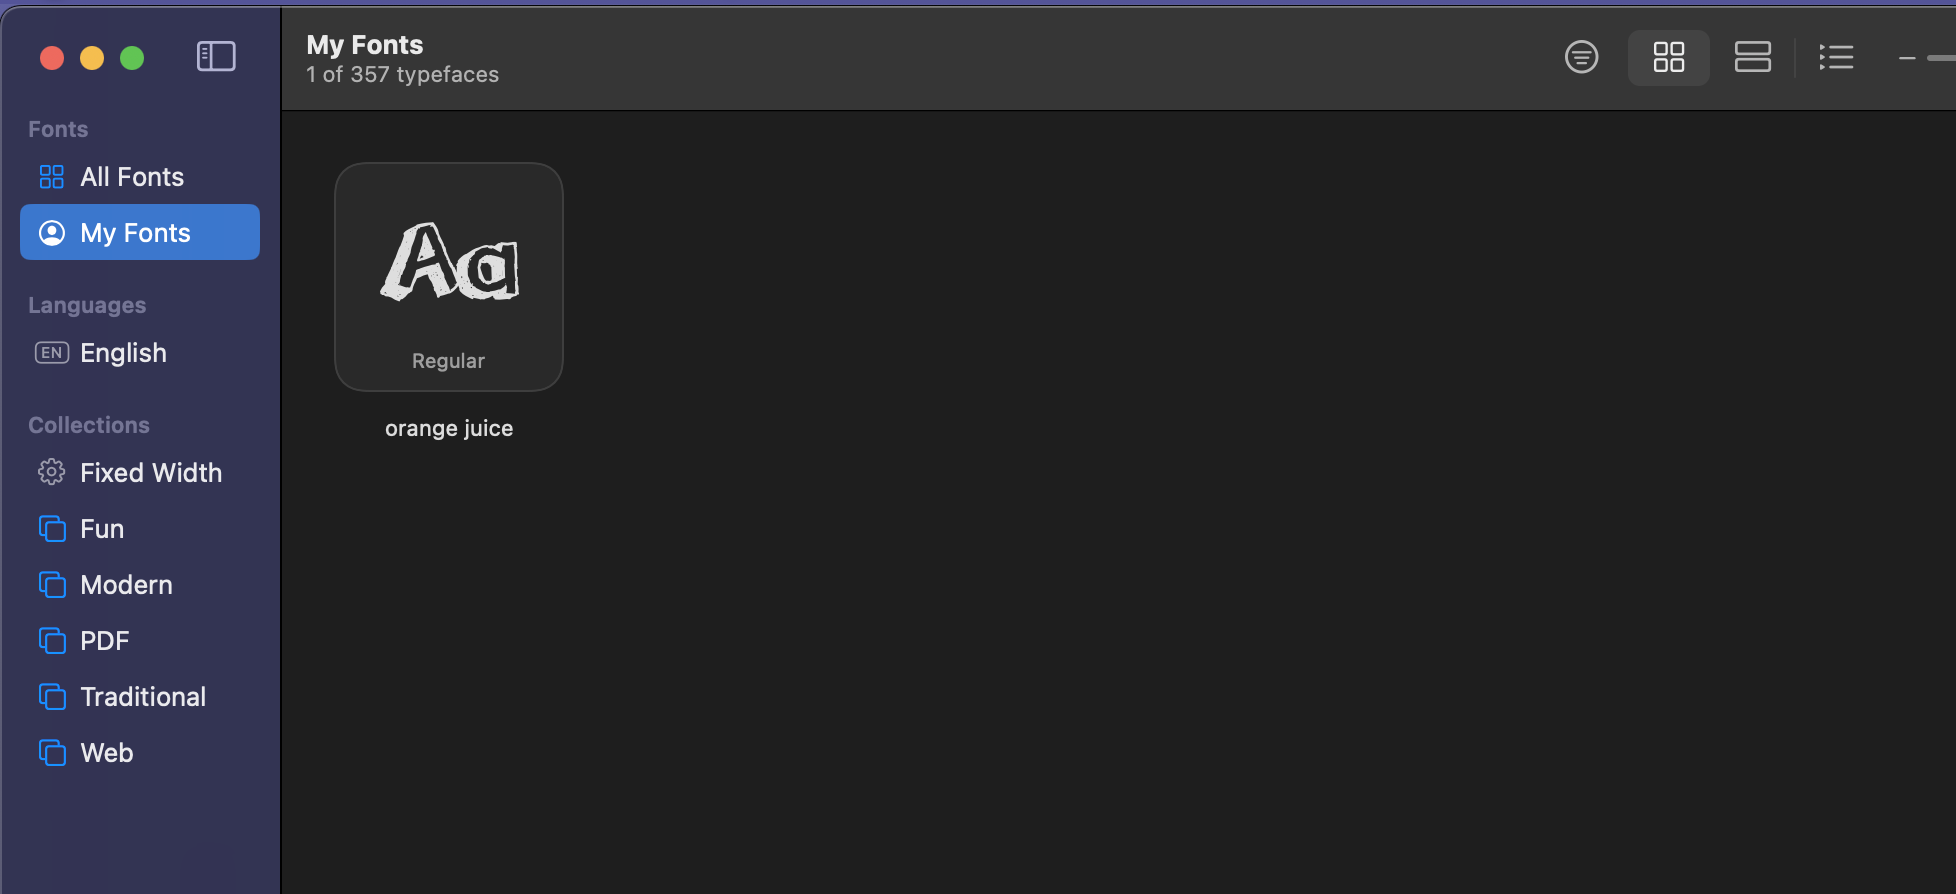
PS: For Orange juice font, it might not display on iOS devices. If we try to use the name that came with the file, i.e.,orange juice 2.0.ttfor the name we later gave the fileorange-juiceit will not still work. This is because iOS uses the "postscript" name of the font.
For me, one of the quick ways to find this out is to check out the name on the iOS font book or better still install the font. Once we install the font, the name of the font is the "postscript" name of that font. For example, after installing theorange juice 2.0.ttfthe font we can see from the image below that the "postscript" name isorange juice
Testing our custom fonts on both Android and iOS
Jump into the project folder, and open it on VSCode
 cd RNFonts
 code .
Open the
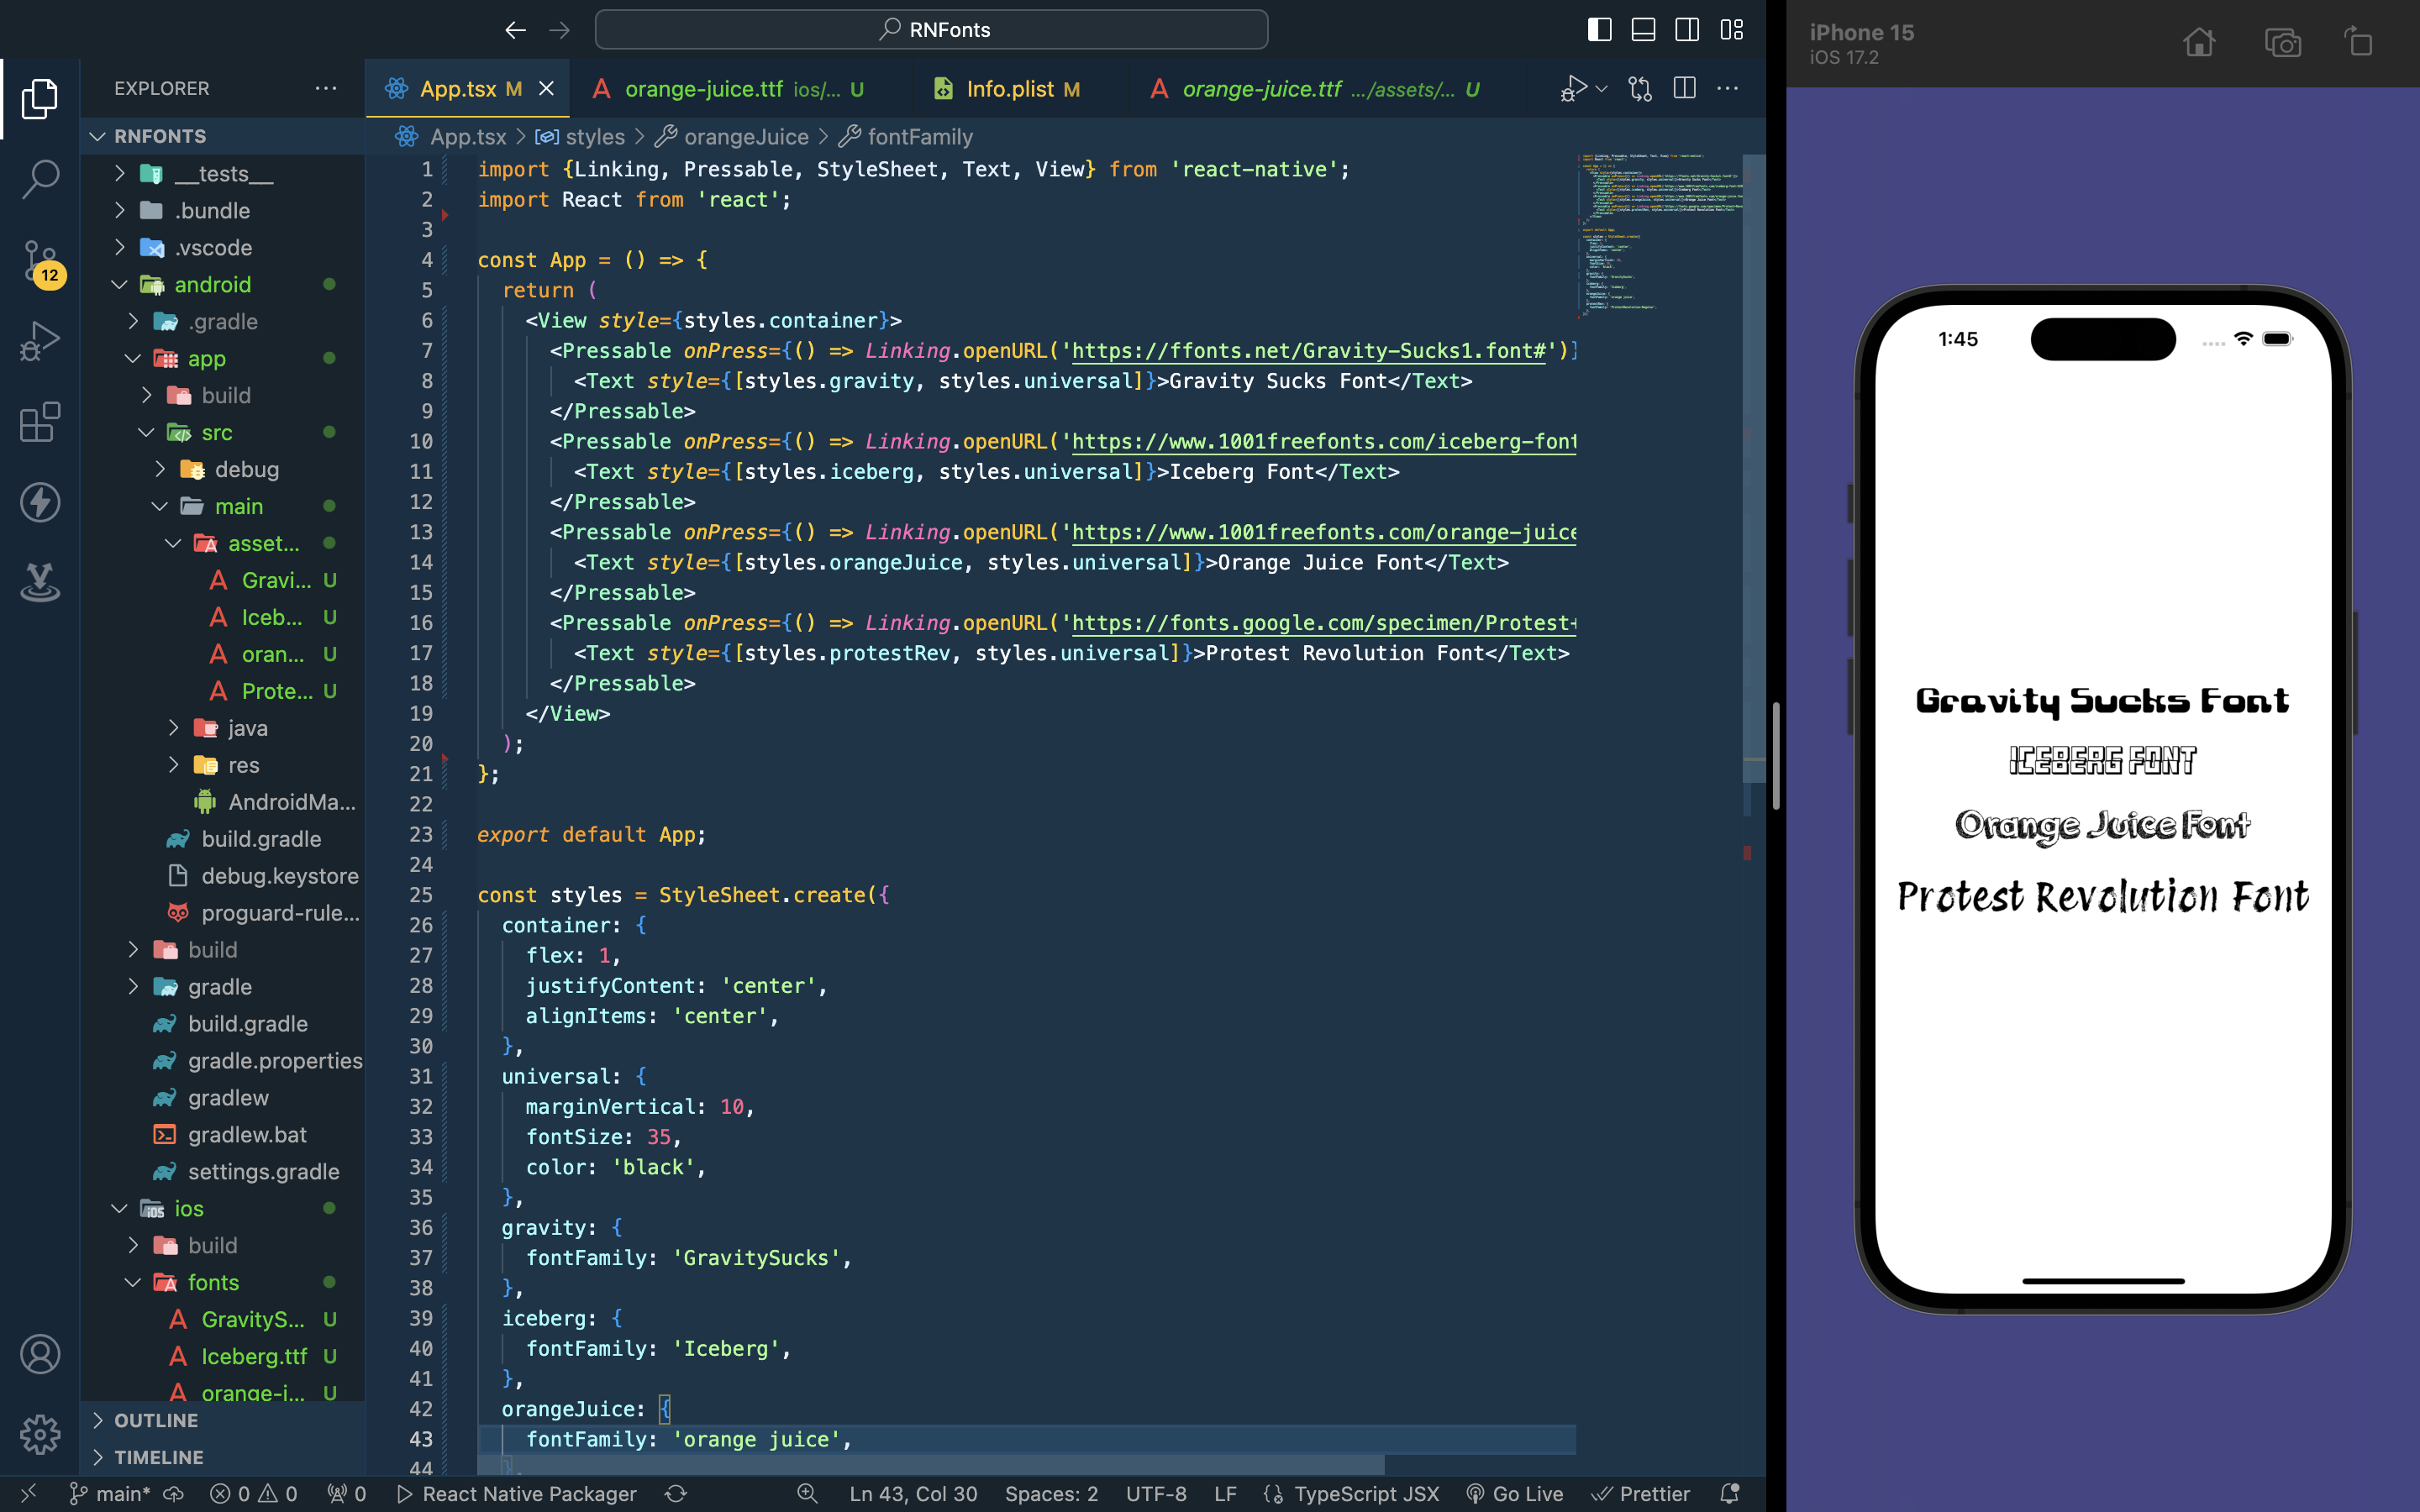
App.tsxfile and replace the content with this:import React from 'react'; import {Linking, Pressable, StyleSheet, Text, View} from 'react-native'; const App = () => { return ( <View style={styles.container}> <Pressable onPress={() => Linking.openURL('https://ffonts.net/Gravity-Sucks1.font#')}> <Text style={[styles.gravity, styles.universal]}>Gravity Sucks Font</Text> </Pressable> <Pressable onPress={() => Linking.openURL('https://www.1001freefonts.com/iceberg-font-52000.font')}> <Text style={[styles.iceberg, styles.universal]}>Iceberg Font</Text> </Pressable> <Pressable onPress={() => Linking.openURL('https://www.1001freefonts.com/orange-juice.font')}> <Text style={[styles.orangeJuice, styles.universal]}>Orange Juice Font</Text> </Pressable> <Pressable onPress={() => Linking.openURL('https://fonts.google.com/specimen/Protest+Revolution')}> <Text style={[styles.protestRev, styles.universal]}>Protest Revolution Font</Text> </Pressable> </View> ); }; export default App; const styles = StyleSheet.create({ container: { flex: 1, justifyContent: 'center', alignItems: 'center', }, universal: { marginVertical: 10, fontSize: 35, color: 'black', }, gravity: { fontFamily: 'GravitySucks', }, iceberg: { fontFamily: 'Iceberg', }, orangeJuice: { fontFamily: 'orange juice', }, protestRev: { fontFamily: 'ProtestRevolution-Regular', }, });Start our Metro bundler 💨💨💨
For us to run our project, we need to start the Metro bundler using the command below:
npm run startStarting our Android application
To start our Android application, we use the command below to start our application:
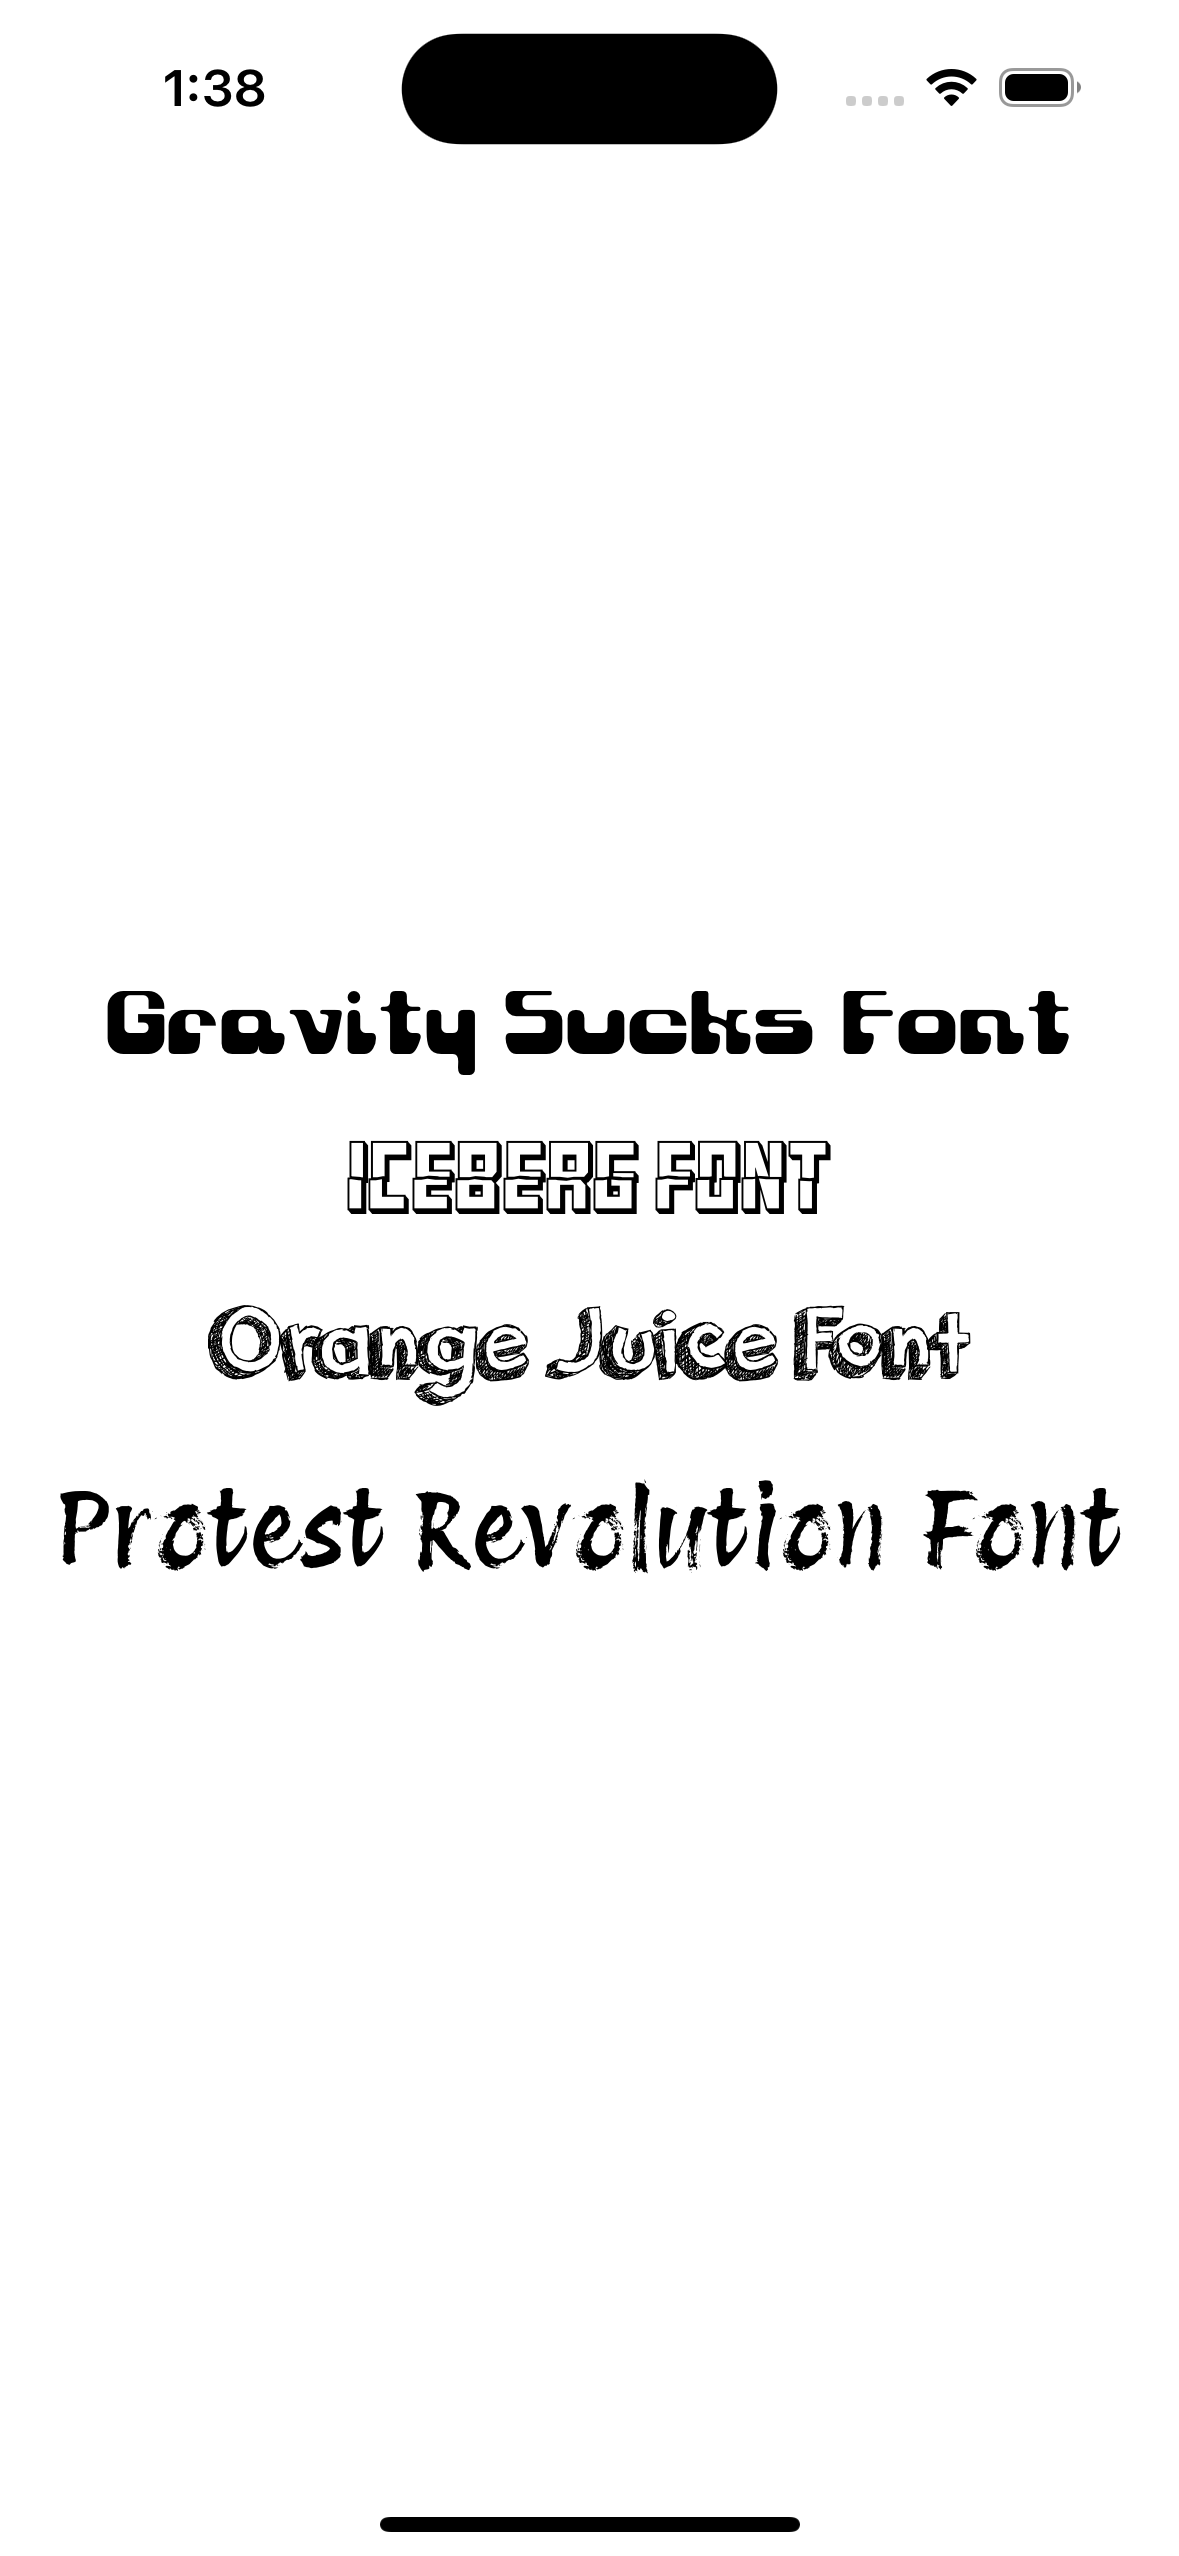
npx react-native run-androidHere is the output of our application on an Android device

Starting our iOS application
To run our application on iOS, we run the command below:
npx react-native run-iosHere is the output of our application on the iOS simulator
And we have come to the end of this article on using custom fonts. If you have a challenge following the steps, you can ask your questions in the comment box.✅✅

To receive an update when the article drops, do well to subscribe to my newsletter or follow me on any of the social media platforms.
Twitter 🐦: @nwokporo_ebuka
LinkedIn ⚡: @chukwuebuka_nwokporo
GitHub 🚀: @ebukvick
Hashnode 📗: Nwokporo Chukwuebuka


