Getting Started With Node.js
Setting up an Environment for Running Node.js


Table of contents
Welcome to my new series, 😁🙌.
I know you have been waiting for something like this. I am happy that you thought it wise to use this resource.
What is Node.js?
Node.js is an open-source, cross-platform, back-end JavaScript runtime environment that runs on the V8 engine and executes JavaScript code outside of a web browser.
It is important that we understand this and avoid some common misconceptions about Node.js.
Some common misconceptions are:
Node.js is a JavaScript web framework: This is false, as we can see from our definition that Node.js is a runtime environment for running JavaScript outside the web browser. Though it can be used to handle server-side logic, i.e., backend logic, by using other packages and modules.
Node.js is not suitable for building complex applications: This is false, as it might interest you to know that large enterprises like PayPal, Amazon, Netflix, etc. use Node.js to manage their server-side logic.
Node.js has slow performance:This is not totally true, as Node.js is quite fast, though it cannot handle CPU-intensive applications. But let us remember that since JavaScript is always synchronous and single-threaded but introduces an event loop and a queue that handles asynchronous tasks, this is a great advantage.
NB: The goal of this series is to make you a backend developer and not only a Node.js developer, though the technology I'll be using will be Node.js.
In this article, I will be working you through how to install Node.js on your machine. But I want to assume that you have Visual Studio code installed on your machine. If you don't, you can follow the link here.
How to download and install Node.js
Before we start installing Node.js, you must first check if Node.js is already installed on your machine by taking the following steps:
- First, open your Windows terminal or command prompt.
- Next, type the command
node -von the terminal. If you have Node.js installed on your machine, you should see the picture below, showing you the version number.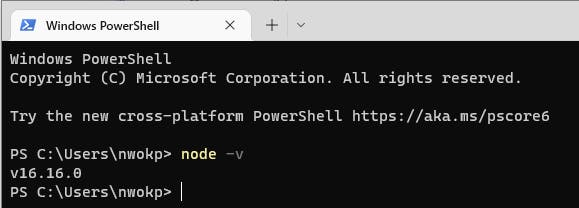
Else, you should see this

To have Node.js installed on your machine, you'll have to follow the steps listed below.
- Visit the official Node.js website.
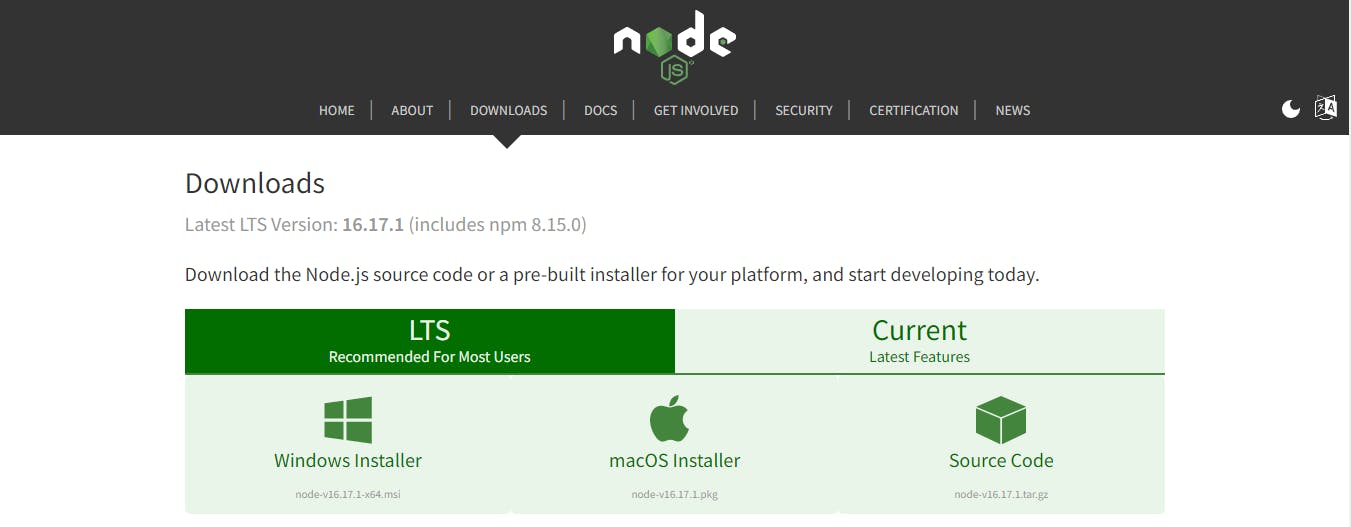
Download which one is suitable for your machine. For the sake of this article, I'll be downloading the one for Windows, which is the .msi installer for the 64-bit machine.
NB: There are two versions always available, which are:
- The Long Term Support (LTS) version and;
- The Current Latest Features version
It is always advisable to download the LTS version.
Next, you run the installer, then a dialogue box appears
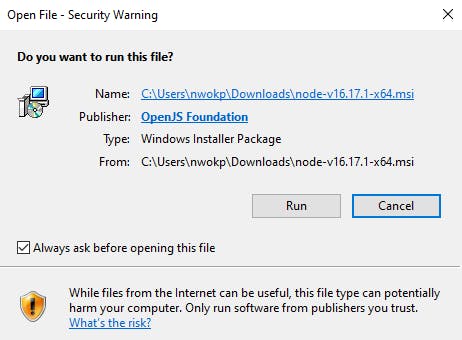
- Click run
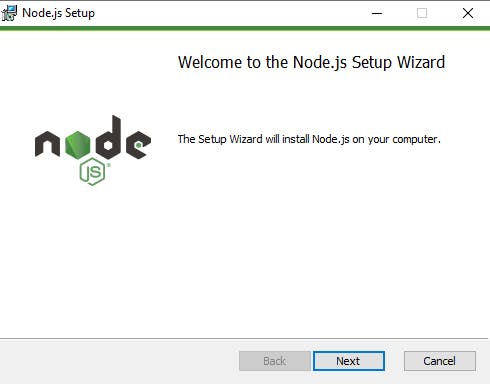
- Click Next
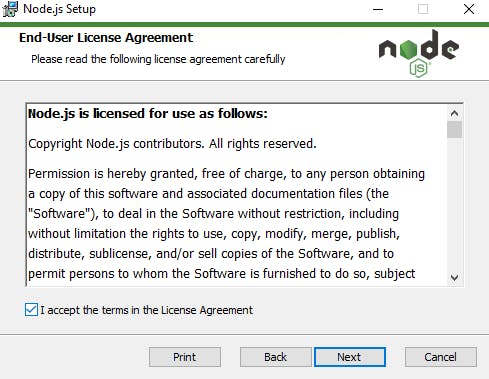
- Accept the terms in the agreement license and click Next
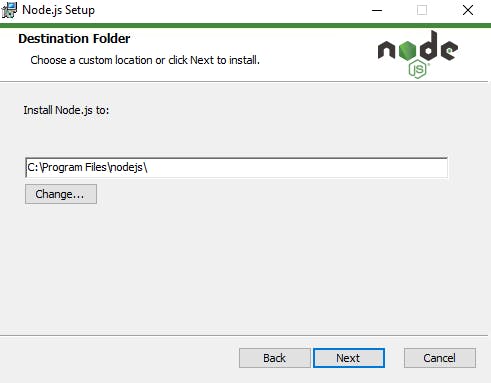
- Choose the folder destination and click on Next
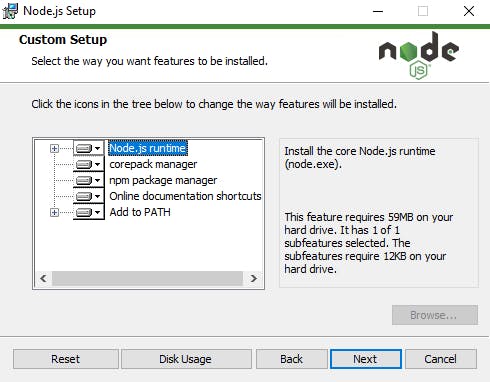
- Click on Next
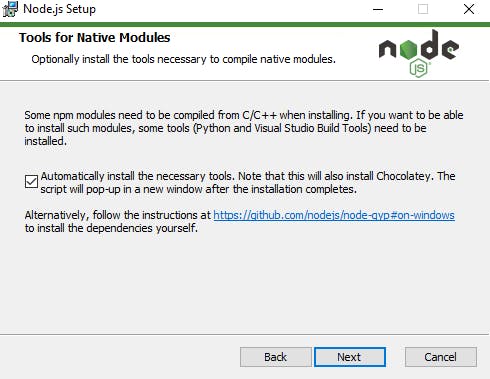
Click on the check button to allow the installation of the necessary tools.
Click on Next and your package is ready.
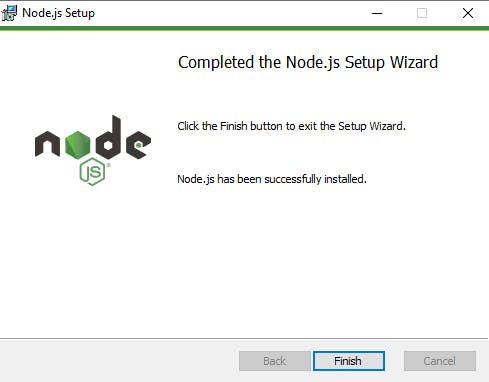
Now, that you have successfully installed Node.js, you can confirm by running the node -v command.
The Node.js runtime environment comes with NPM (Node Package Manager) which manages other packages for Node.js
In the next series I will be working you through what the NPM is all about and also introducing you to the common terminologies you are likely to encounter as a Backend engineer.
Please note that the aim of this series is not to make you only a Node.js developer, but a Backend Developer also.
Thank you for reading 🙏🙏.
You can follow me on the following platforms:
Twitter 🐦: @nwokporo_ebuka
LinkedIn ⚡: @chukwuebuka_nwokporo
GitHub 🚀: @ebukvick
Hashnode 📗: Nwokporo Chukwuebuka